[AWS] – AZURE AD SSO – ENTERPRISE APPLICATION
To create a Single Sign-On on AWS follow the steps below:
AZURE
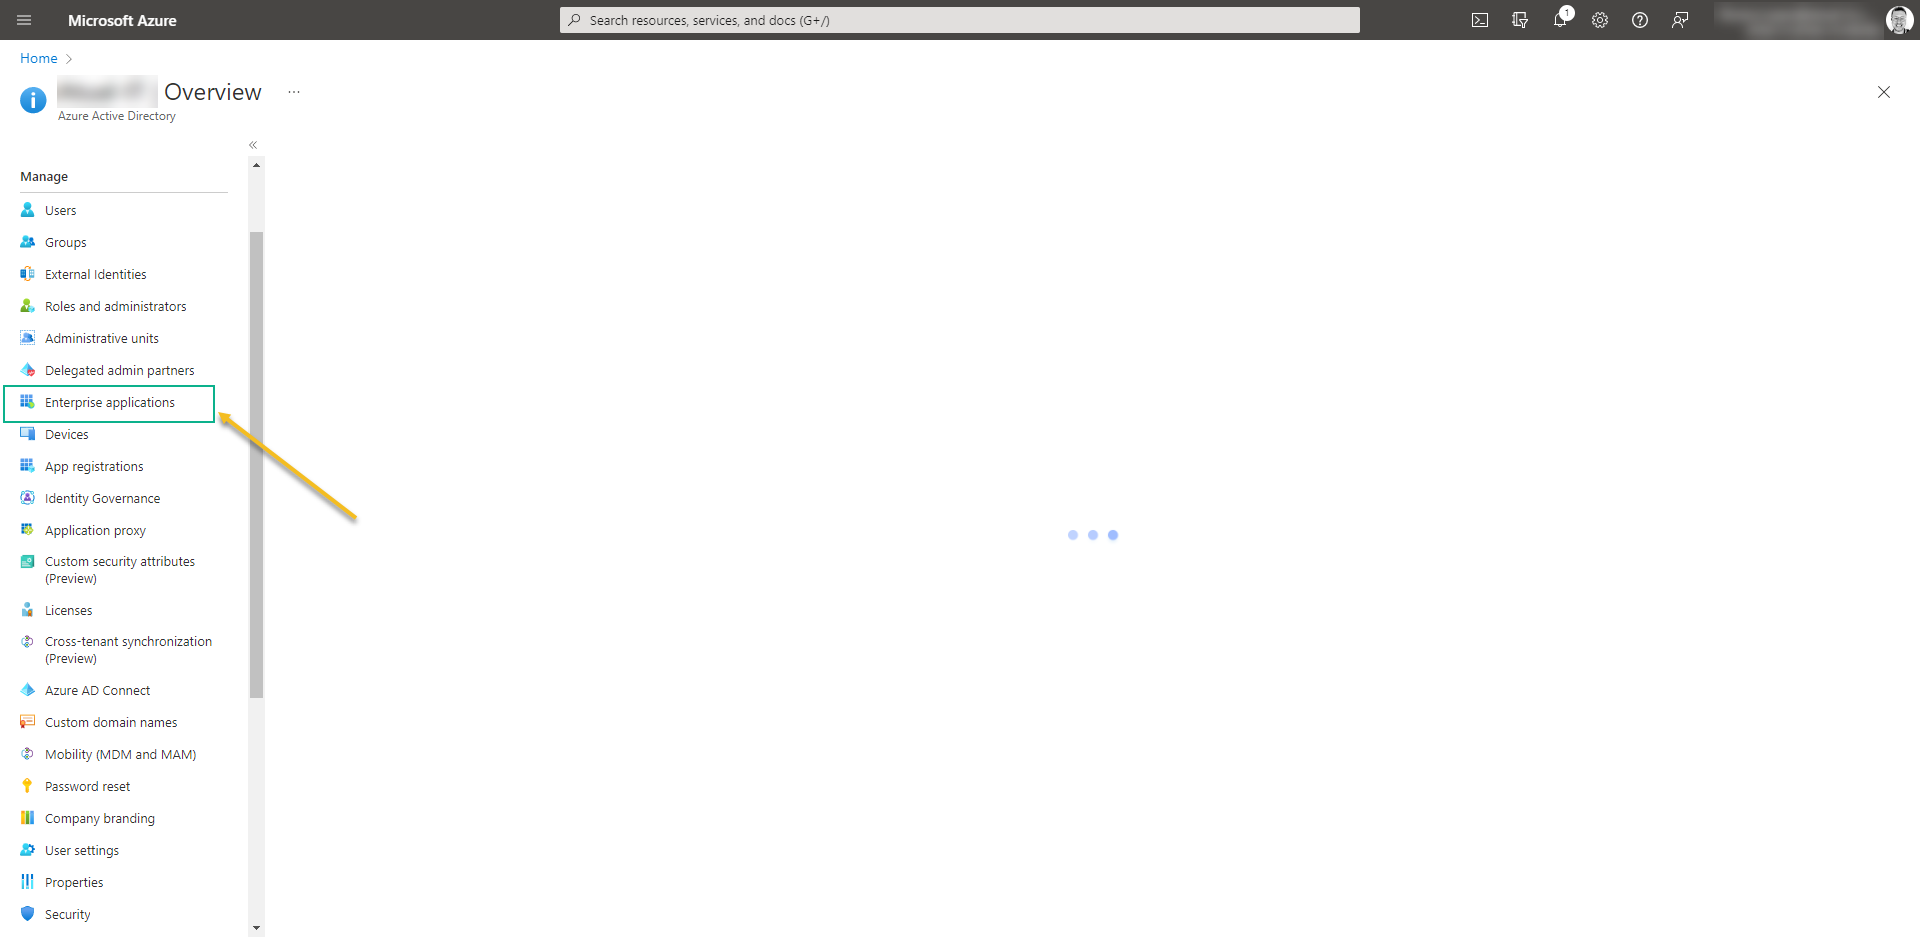
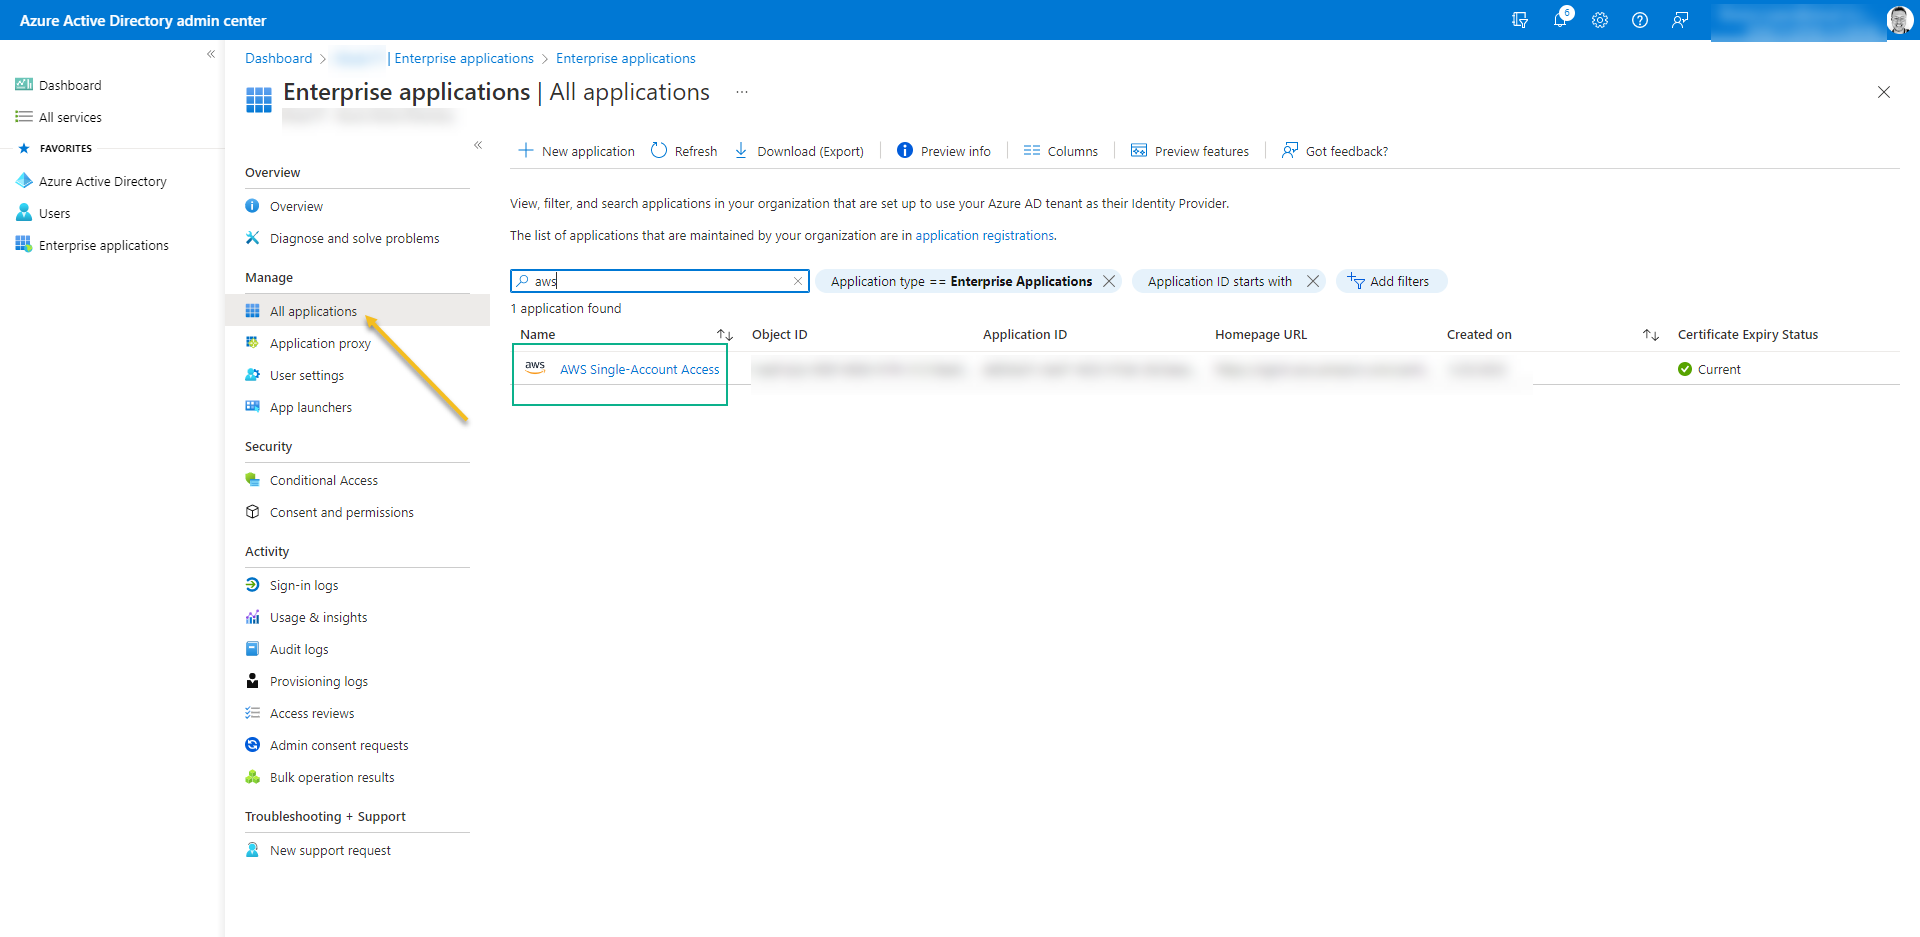
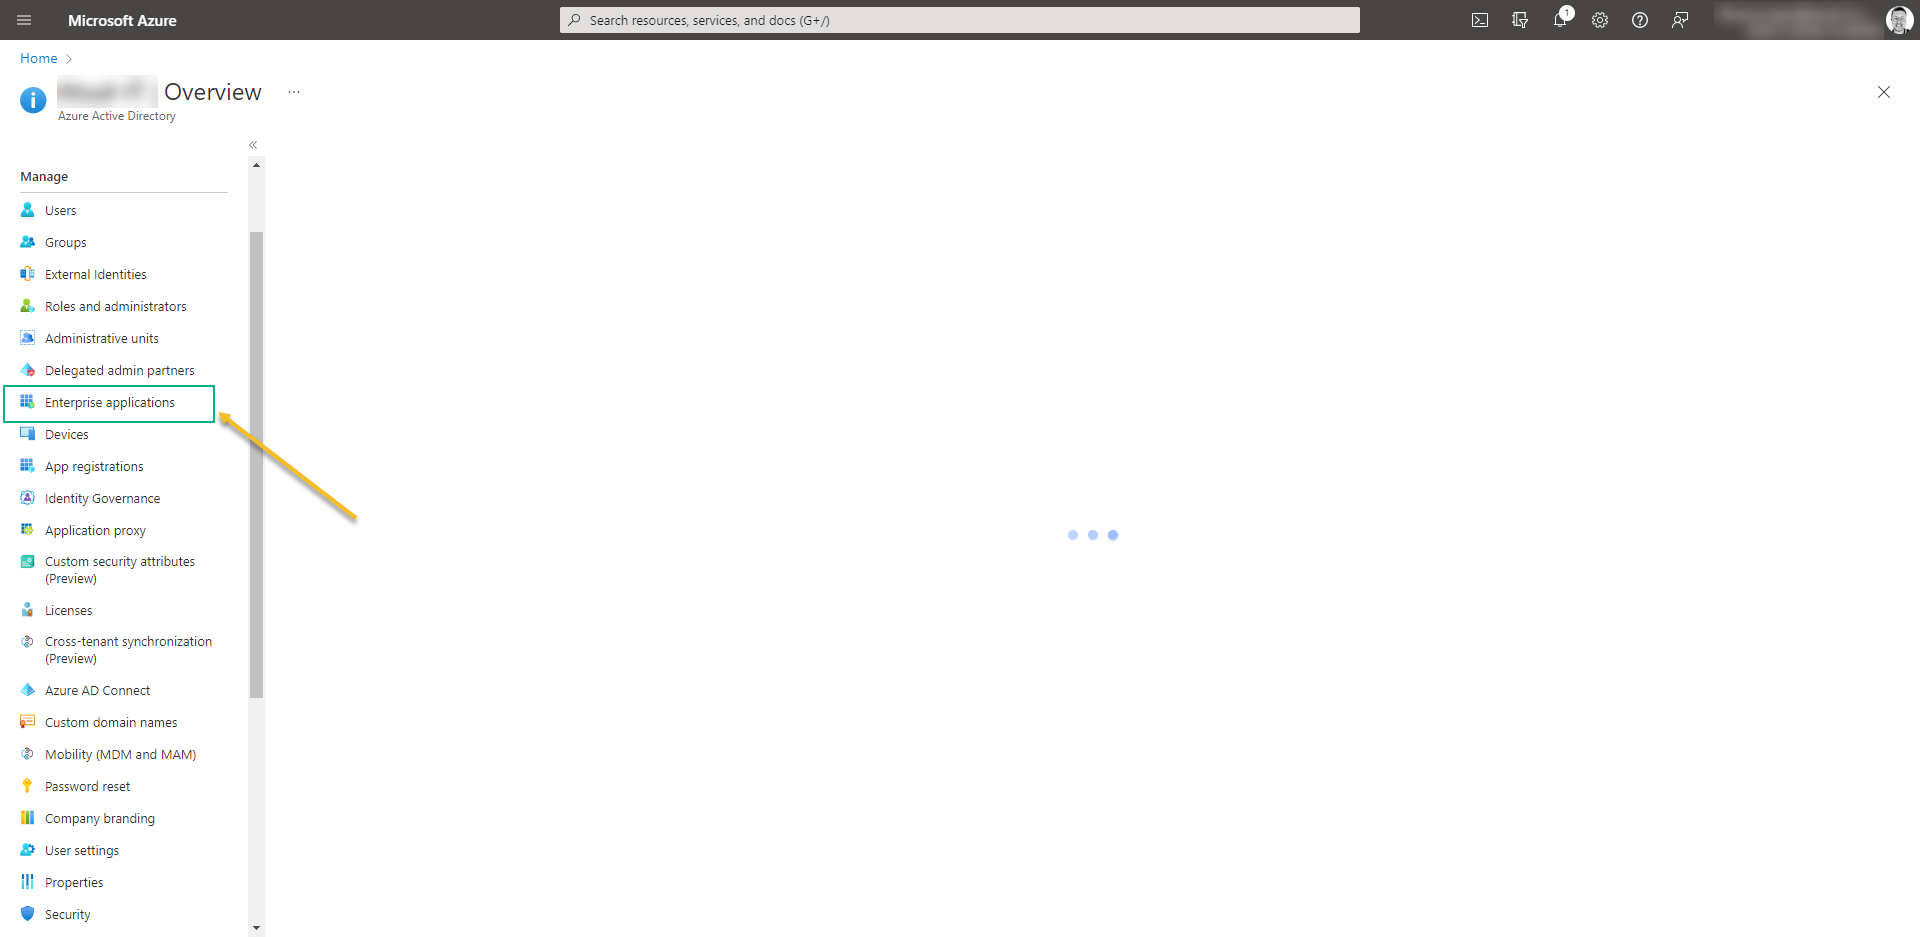
- Open Azure Active Directory: https://aad.portal.azure.com and enter on Enterprise application:
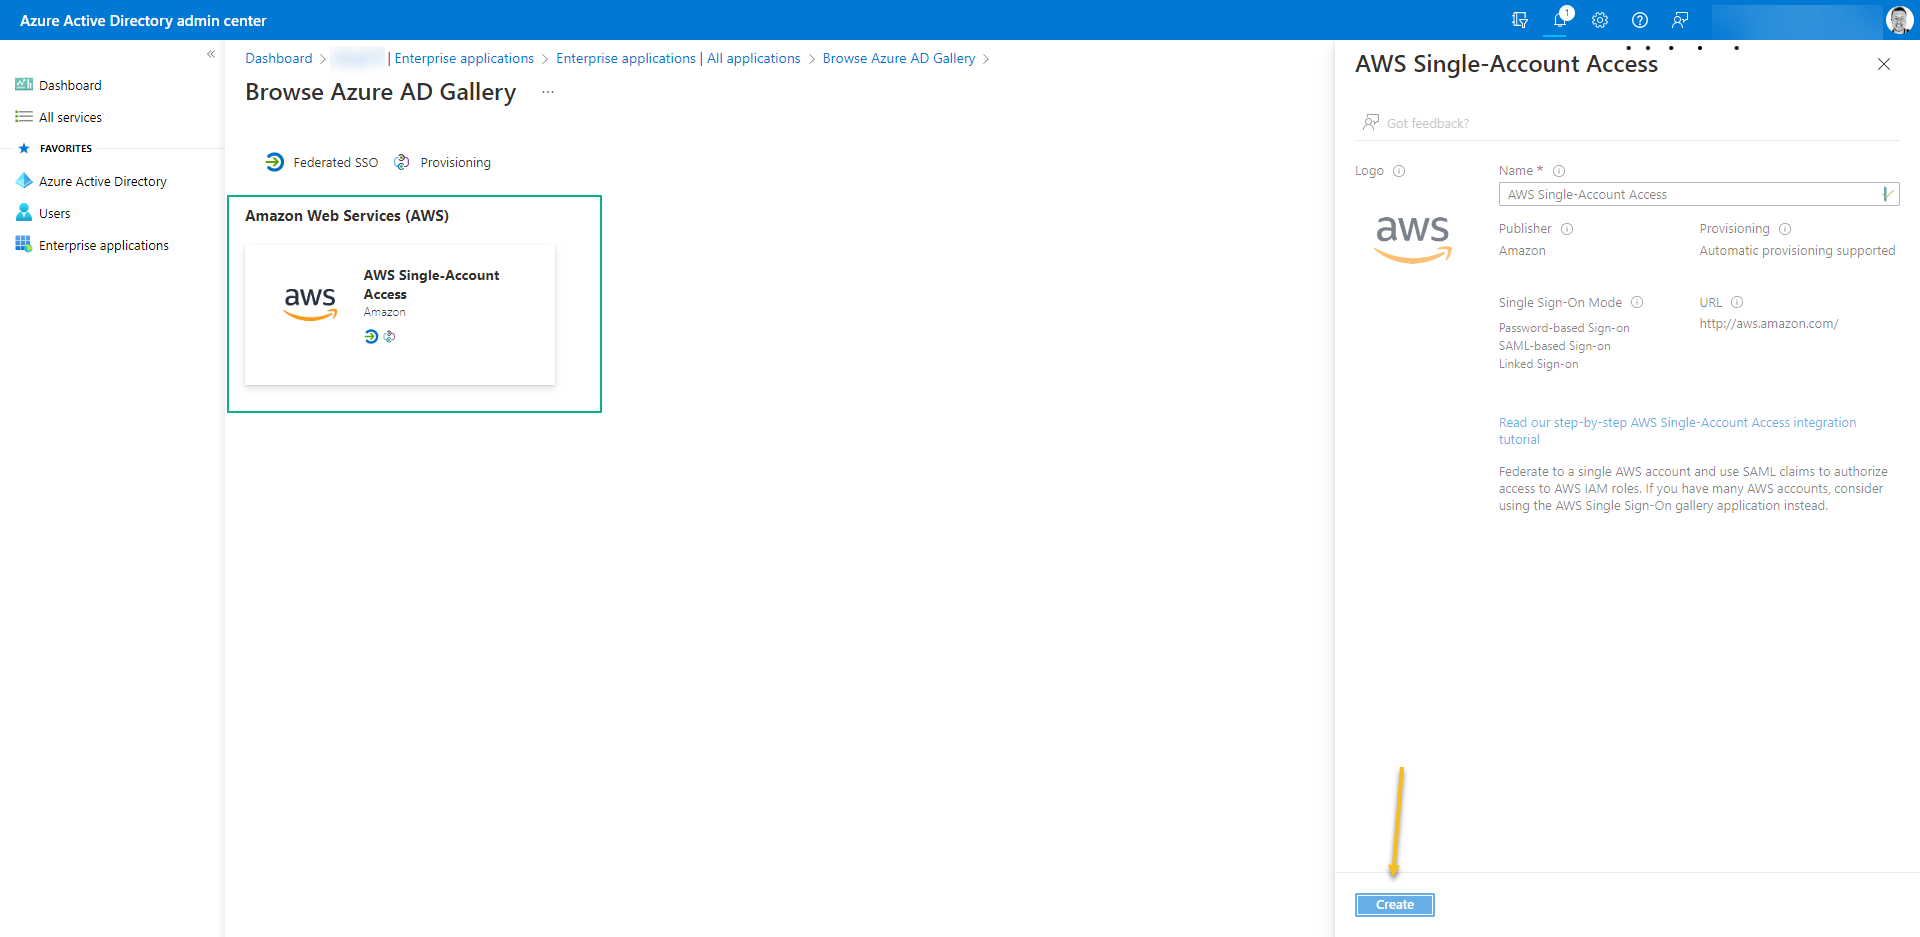
- Click on “New application” search for AWS Single-Account Access and then click on “Create“
- Once it’s done, access the new application
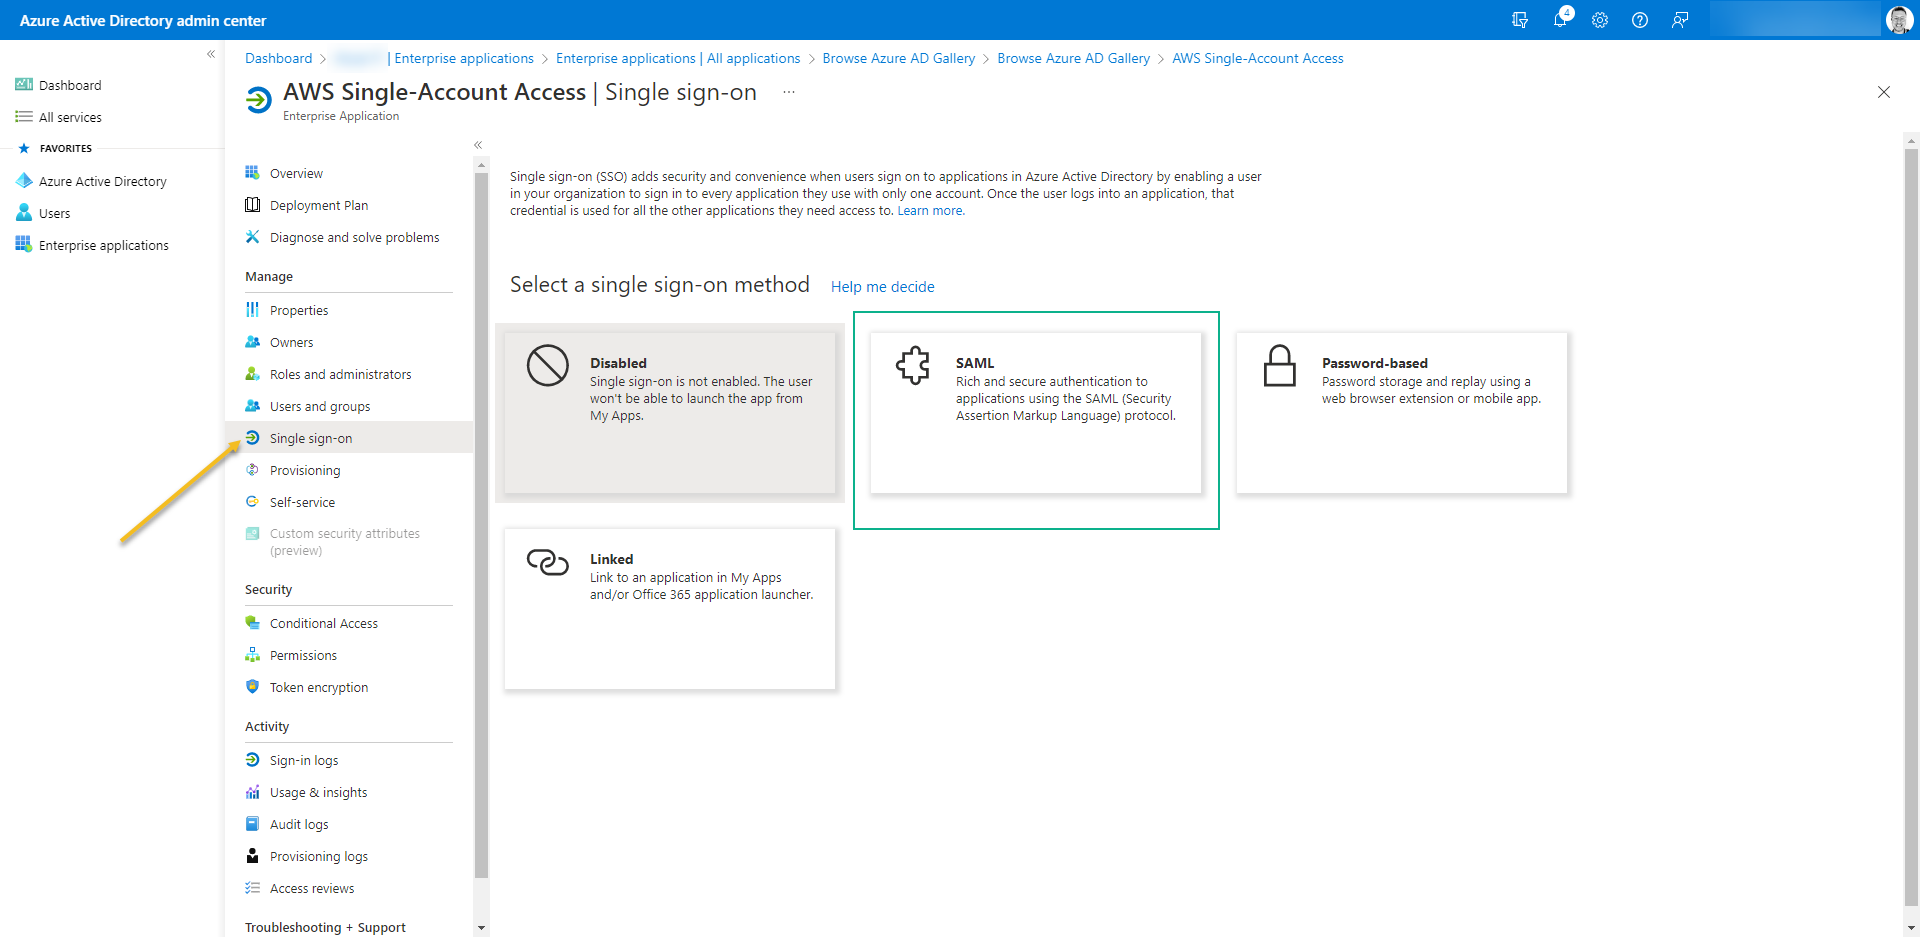
- Click on the left menu, access “Single Sign-on” and select the SSO method to SAML
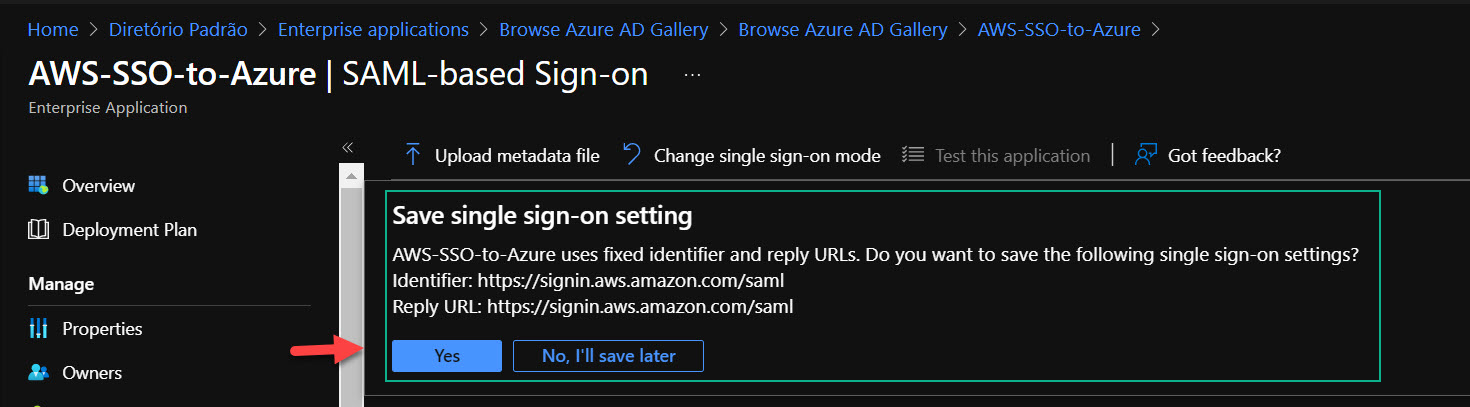
- As soon SAML is open you will receive a notification “Save single sign-on setting“. Click on Yes.
After the warning of save successfully, refresh the page… It will display the Identifier and Reply URL correctly.
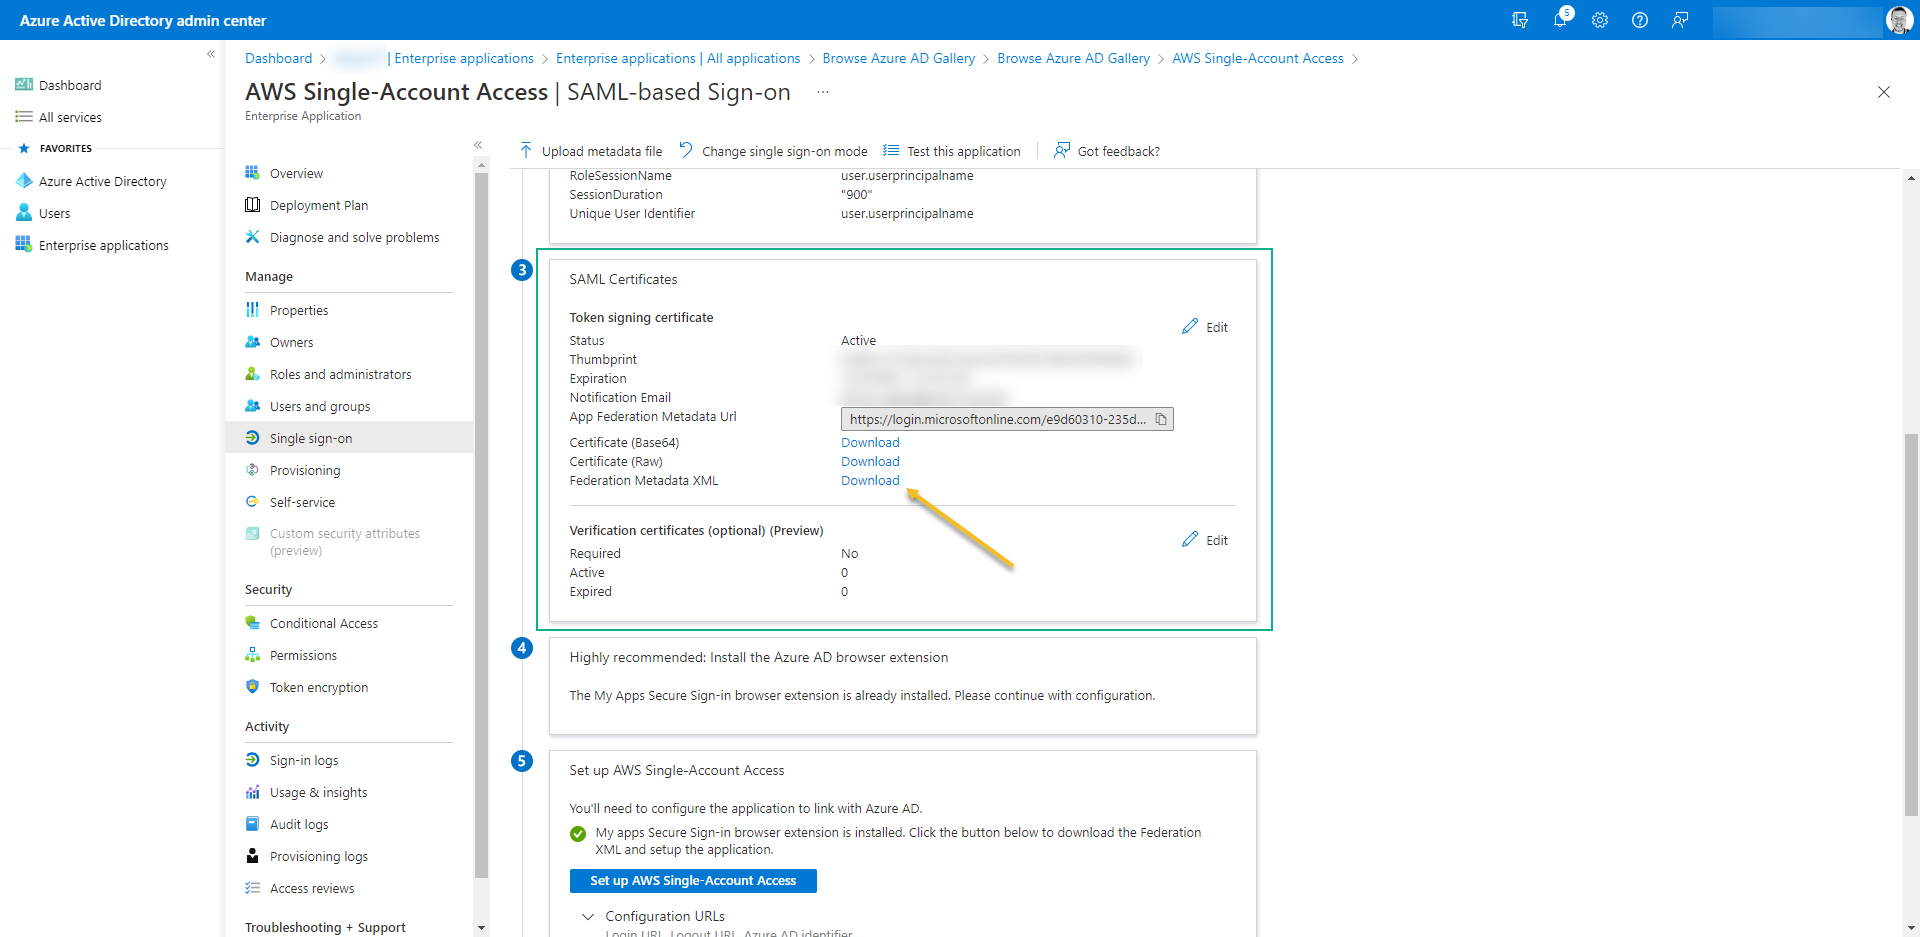
- Scroll down to step 03 and download Federation Metadata XML. We’ll use it on AWS. Don’t forget to double-check the notification email.
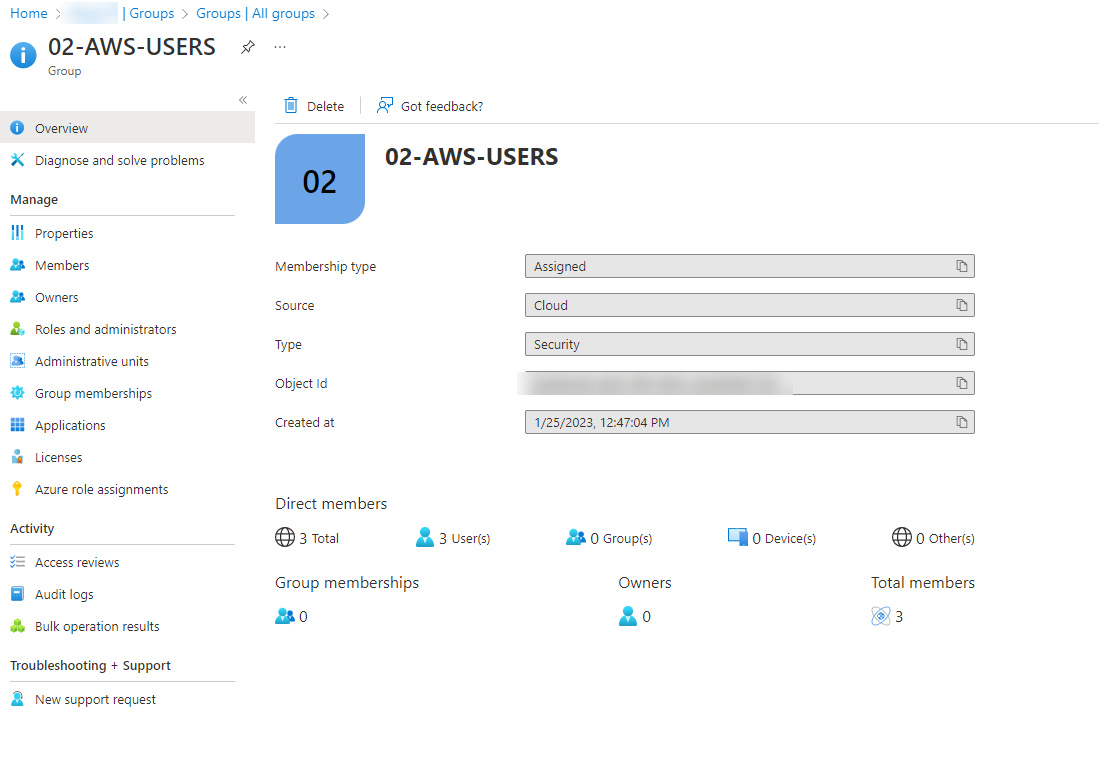
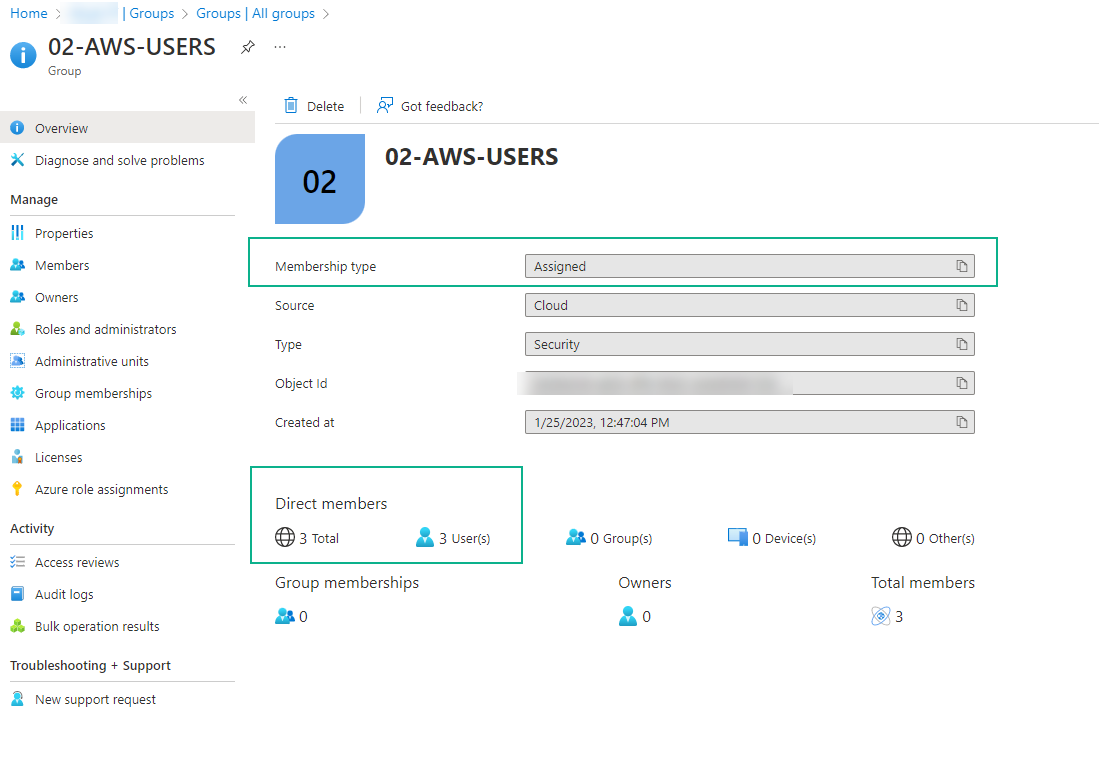
- Go back to AAD, and create an assigned security group. Assign the users to it and take note of the name of the group because we’ll use it with SSO on AWS.
AWS
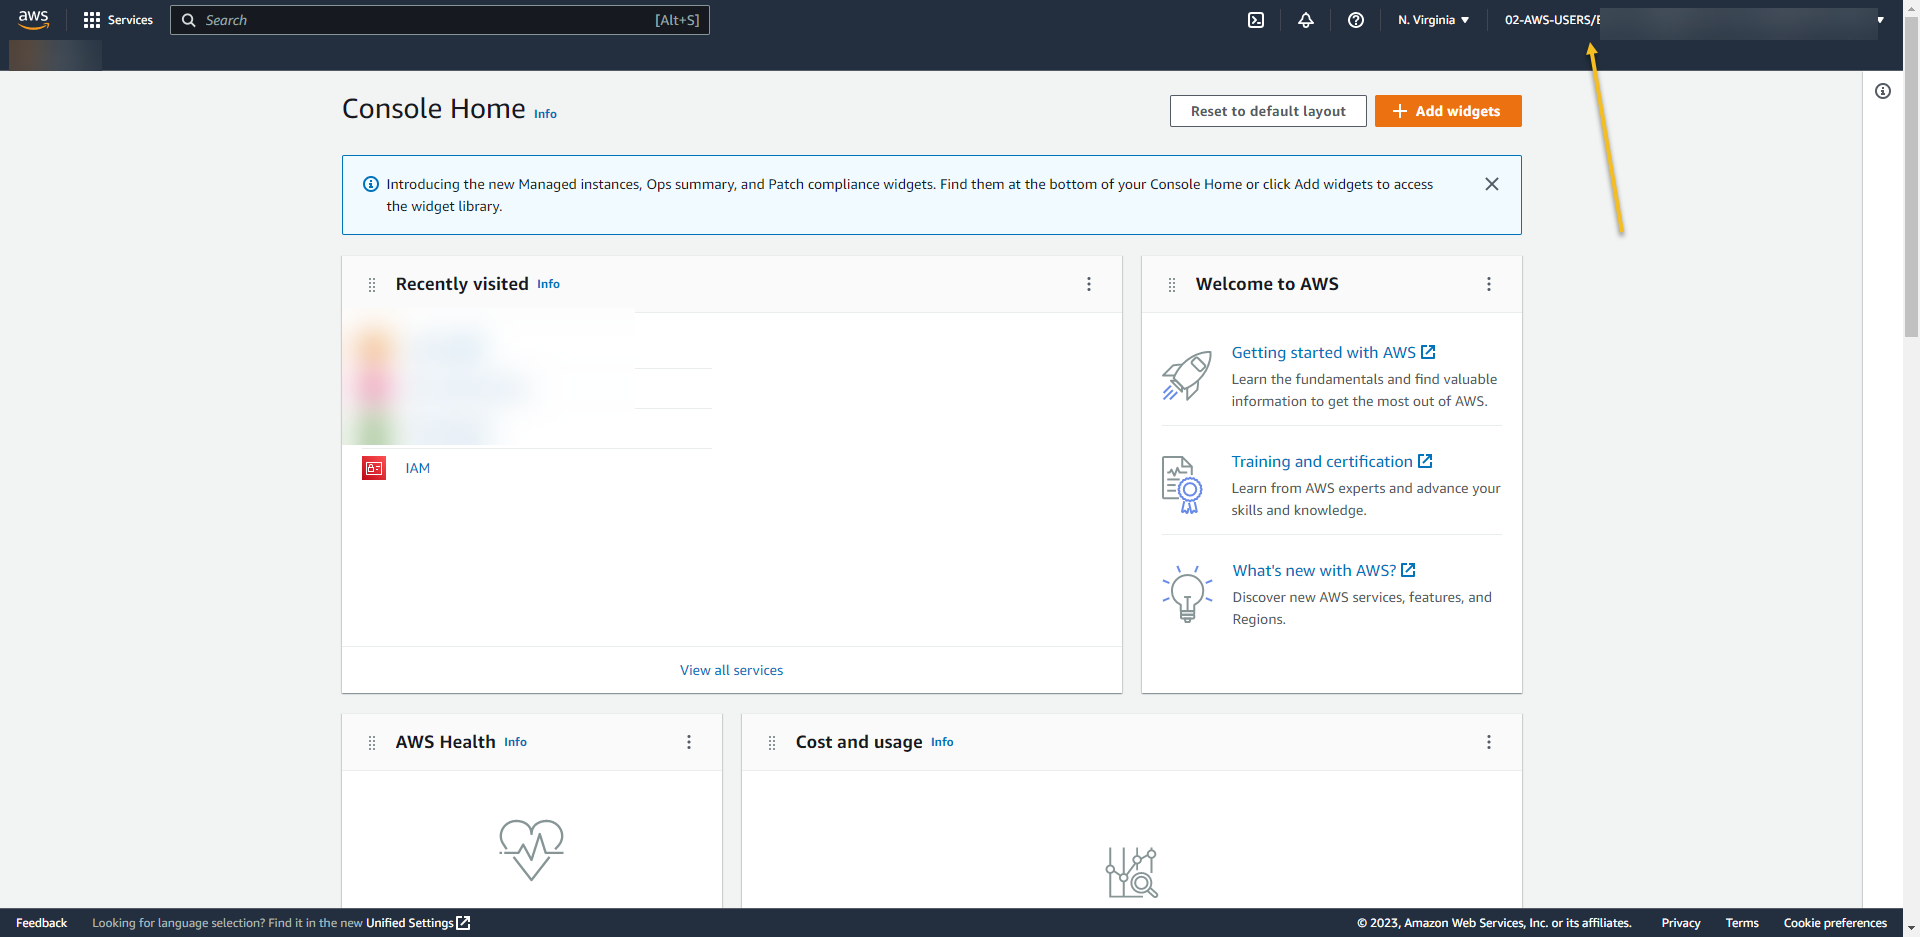
- It’s time to setup the AWS. Open the AWS console with your ROOT ACCOUNT https://aws.amazon.com/
- Once you are in, search for IAM
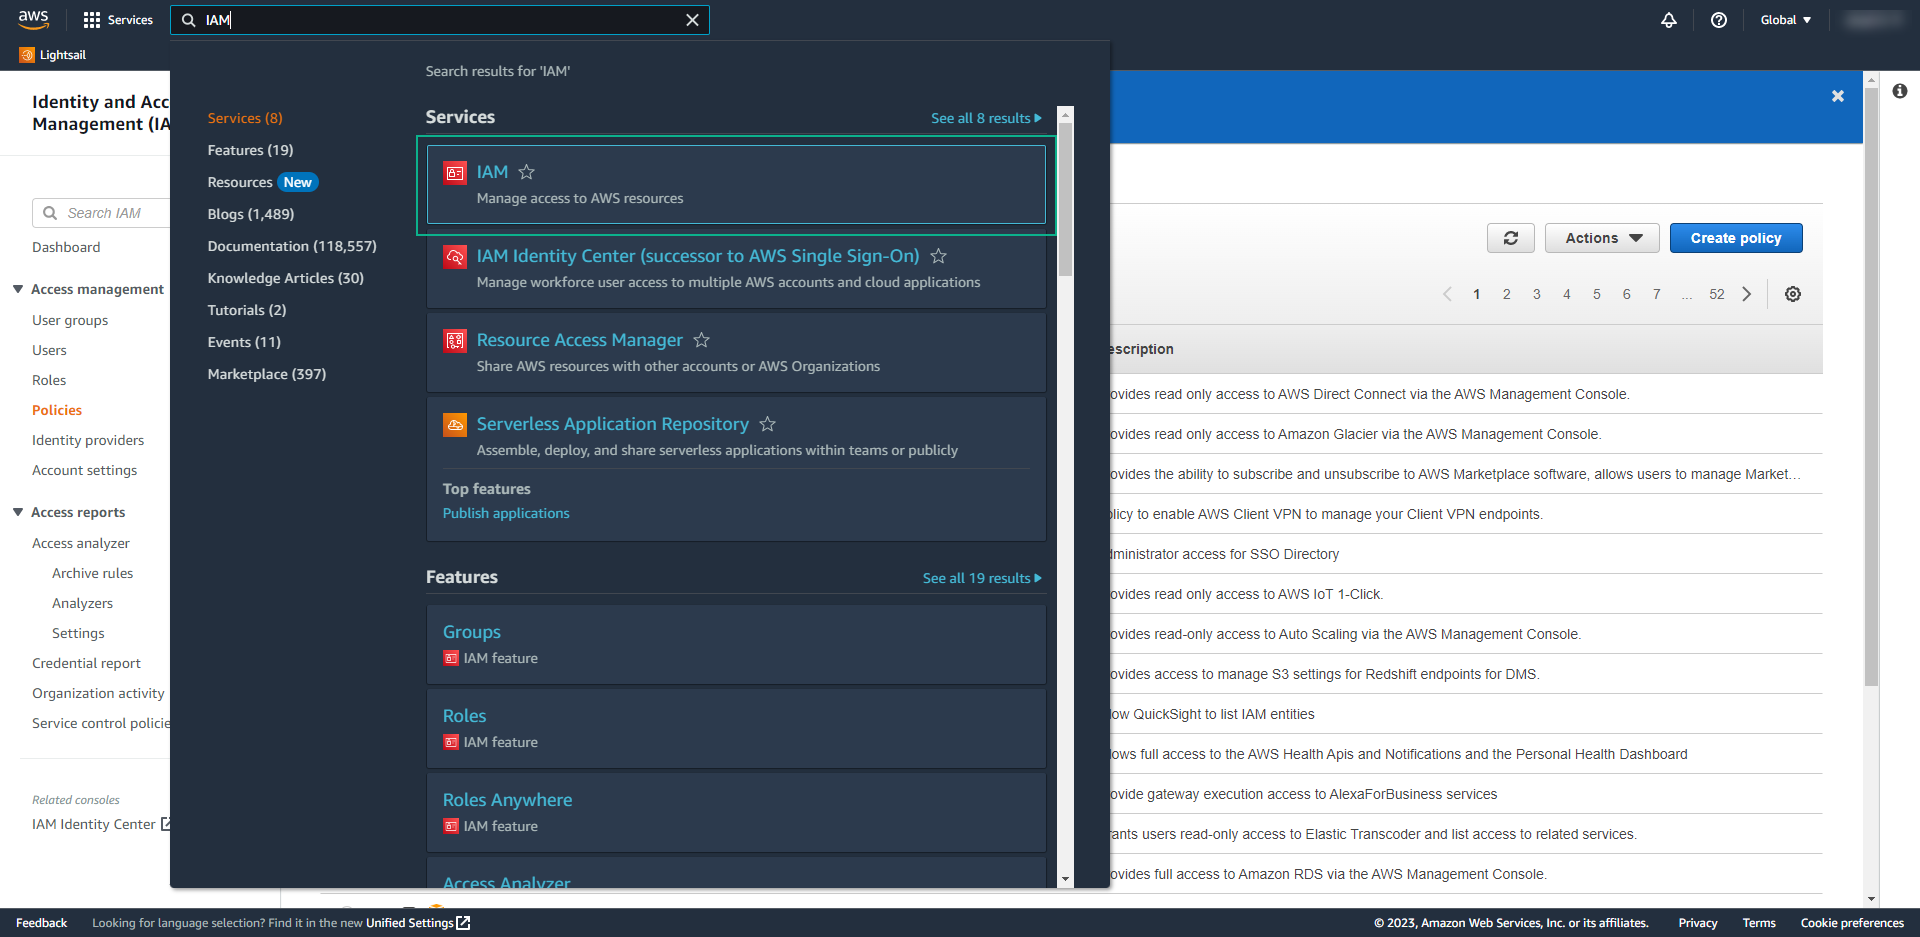
- On left panel, open Identity providers
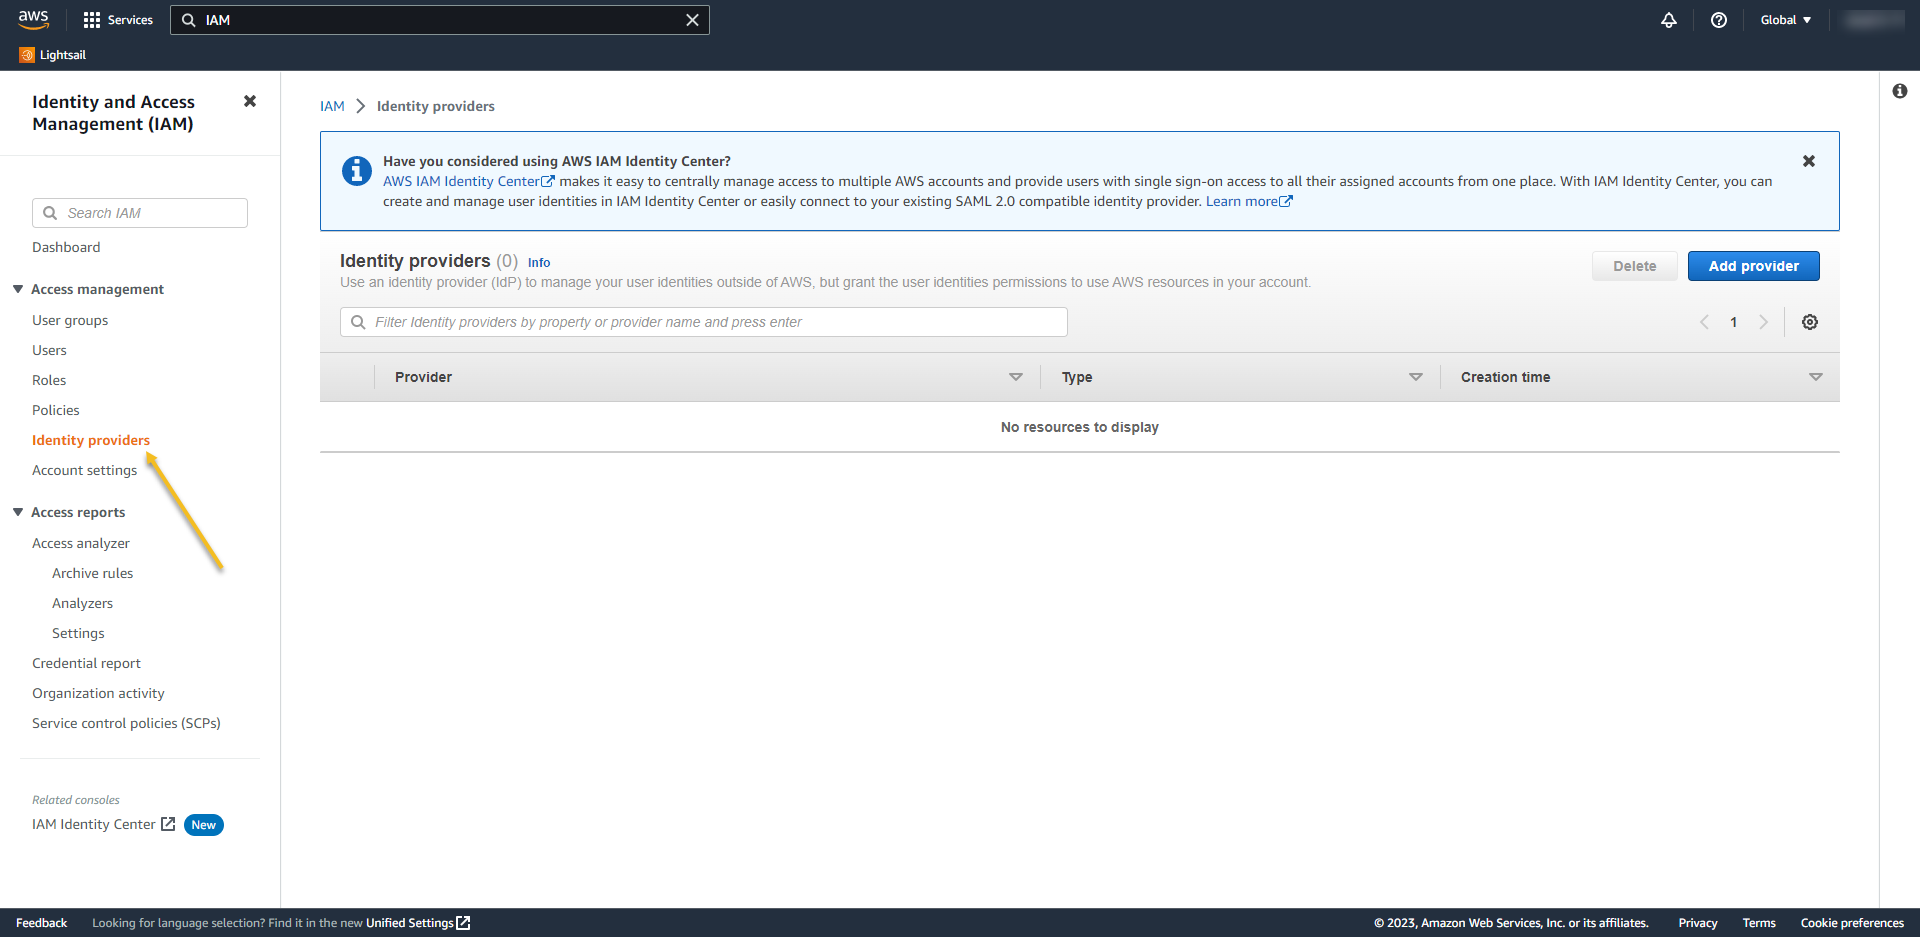
- Select on provider type select SAML,
- Give a name for your Provider – in my case, I called AzureAD
- From the Metadata document, choose the XML that you download from Azure
- and then click on Add Provider
- Access again the provider. Now we’ll add the IAM role to it.
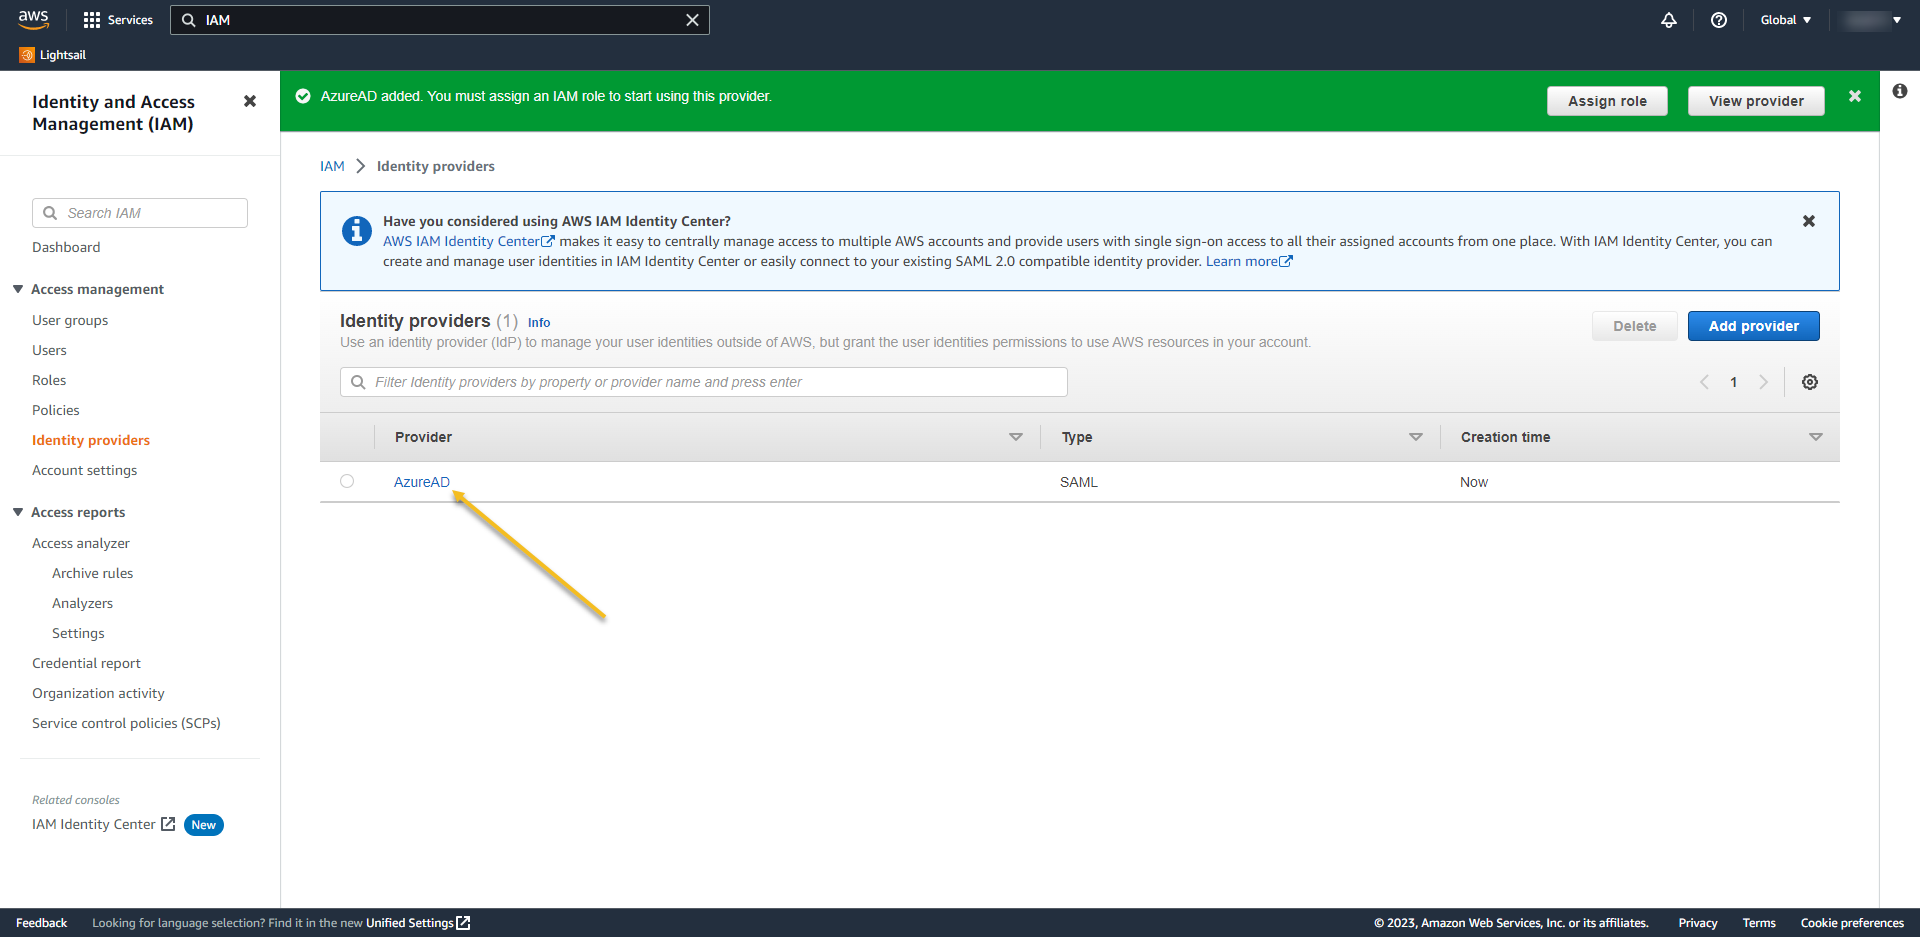
- Click on Assign role
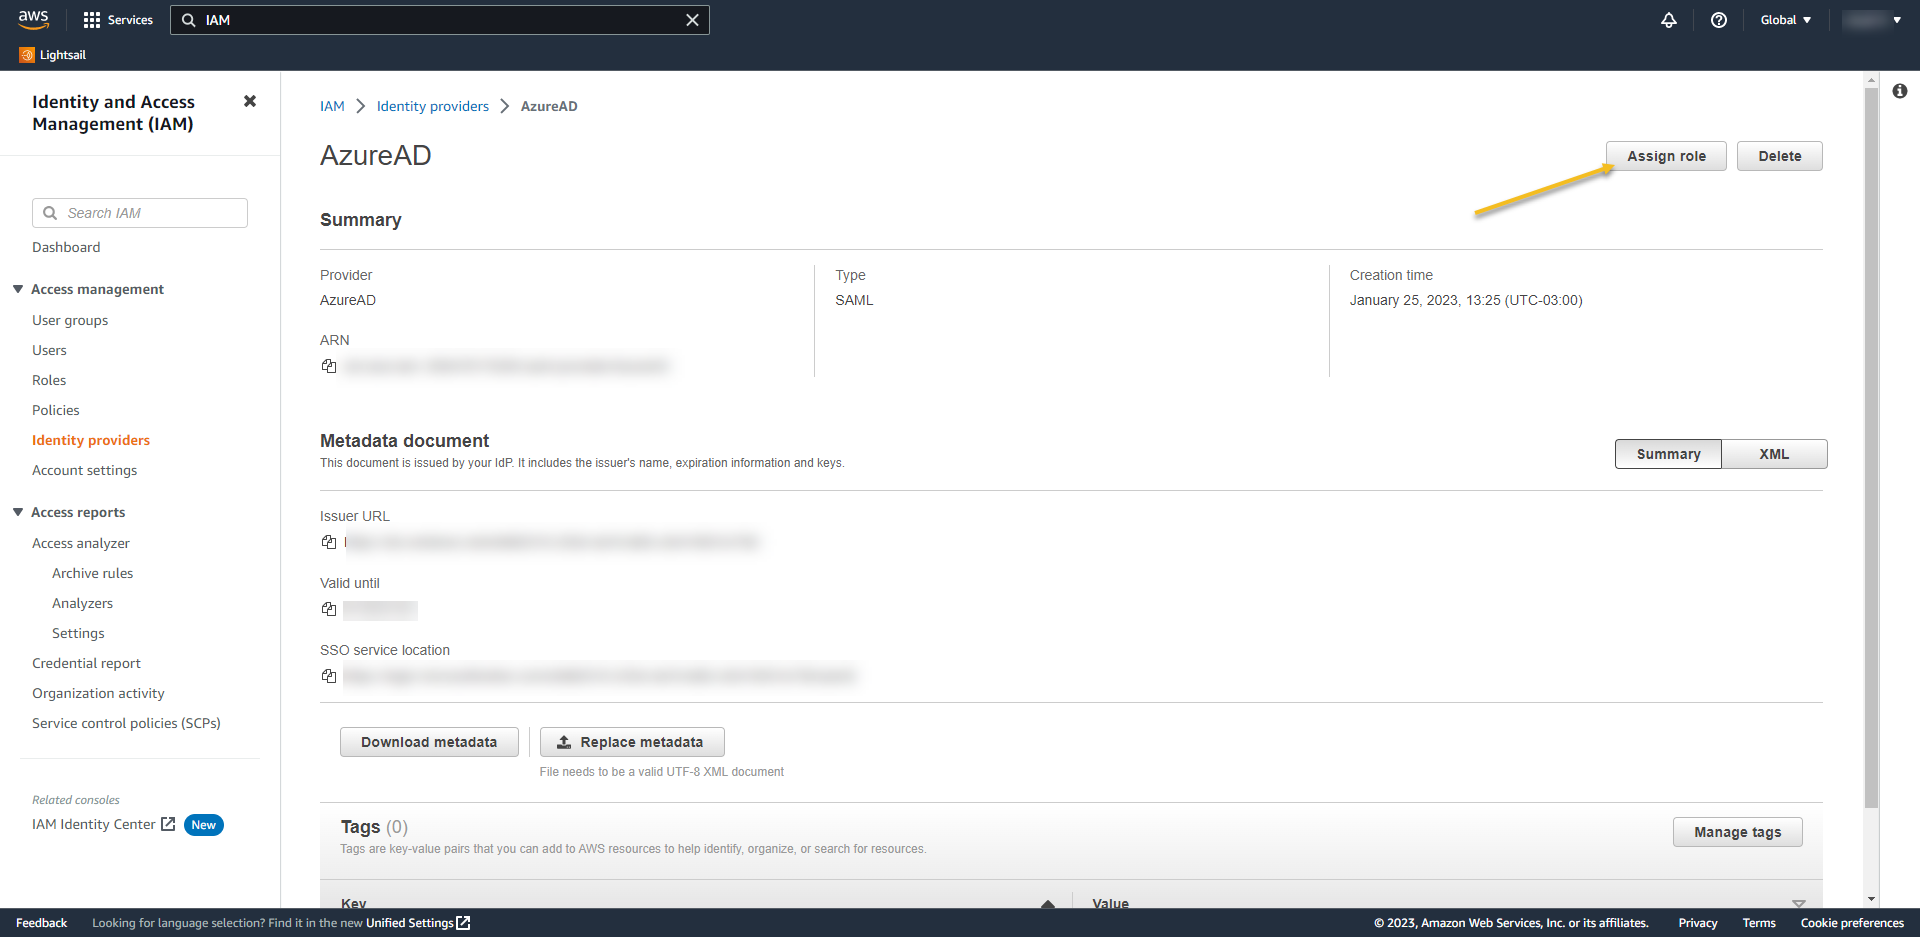
- Create a new role – > NEXT
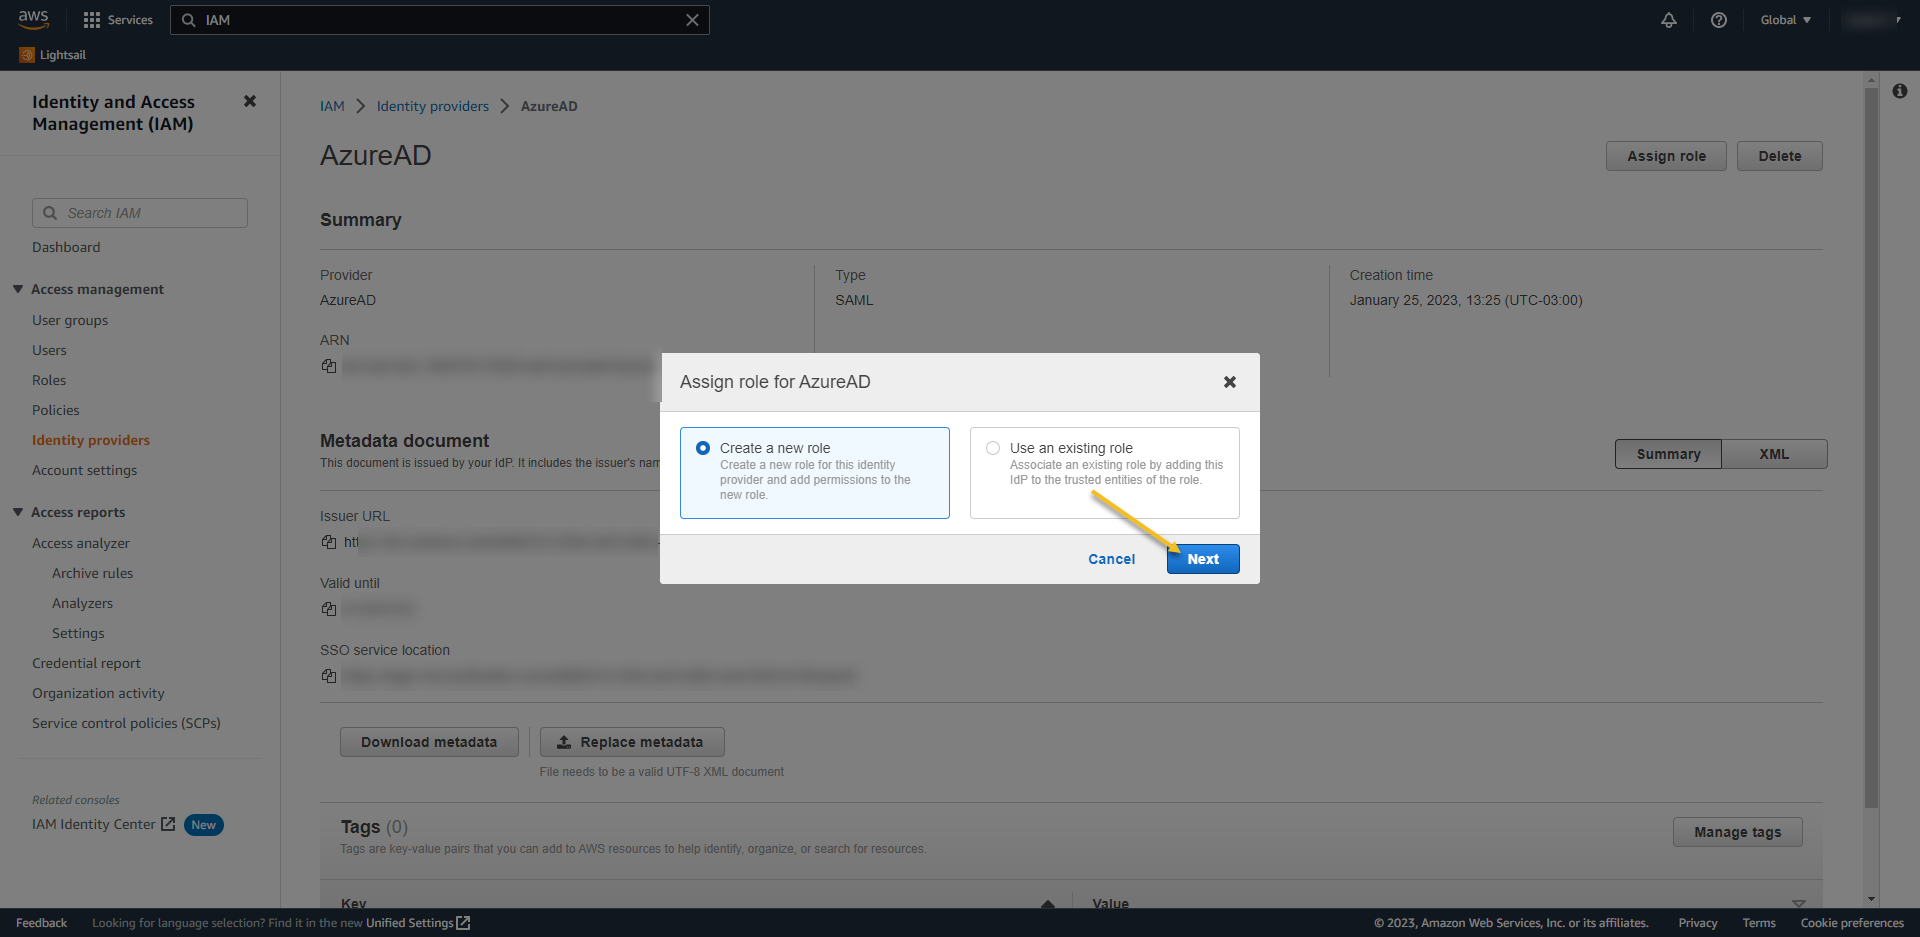
- Select SAM 2.0 Federation
- SAML Provider -> select the name of the Provider – in my case AzureAD
- Check “Allow programmatic and AWS Management Console Access“
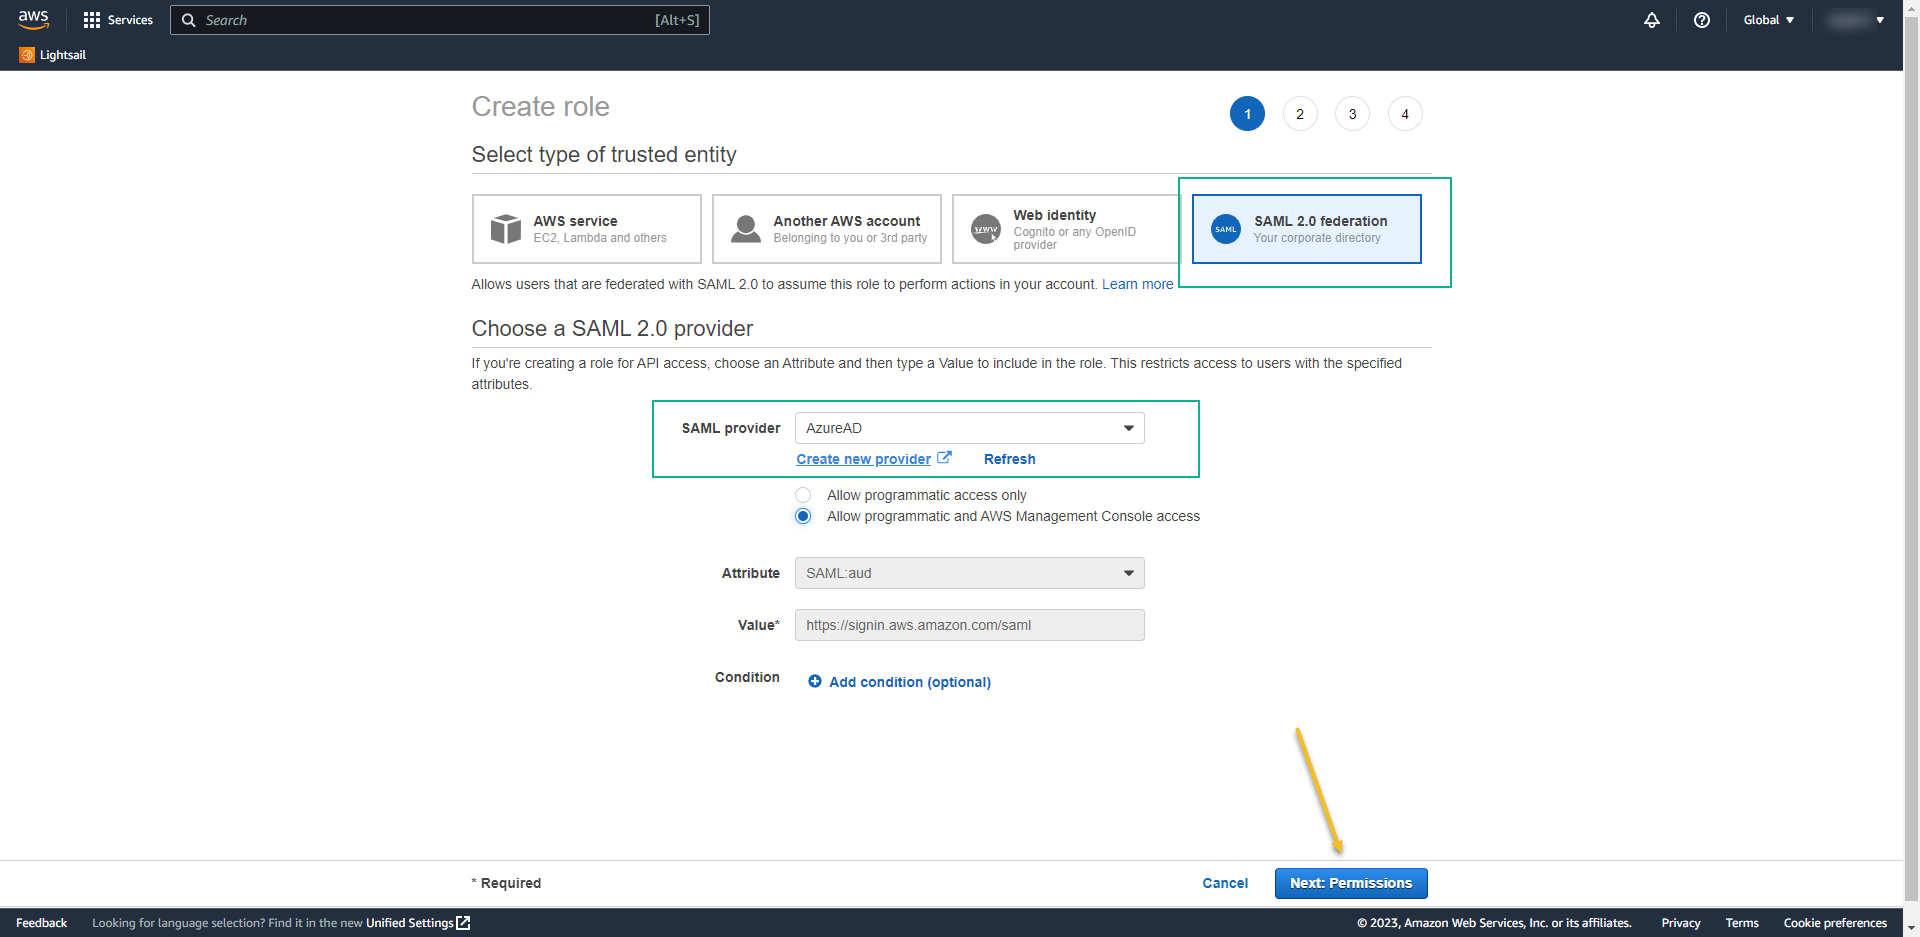
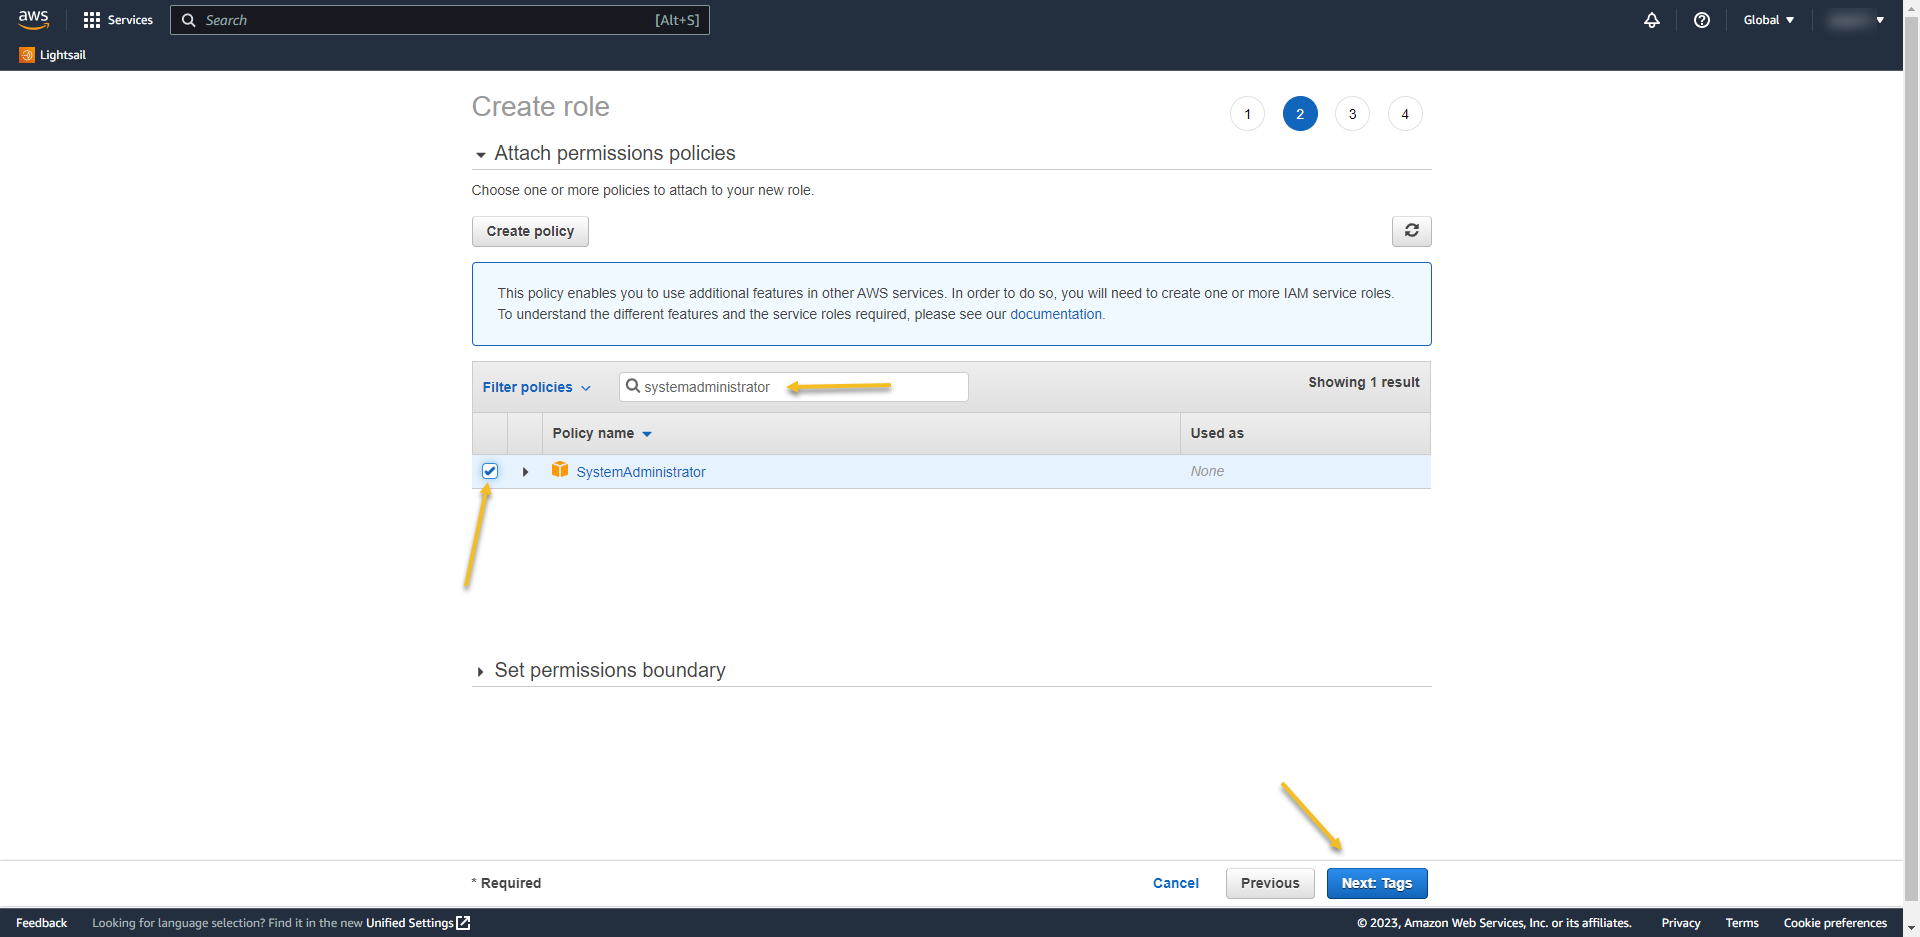
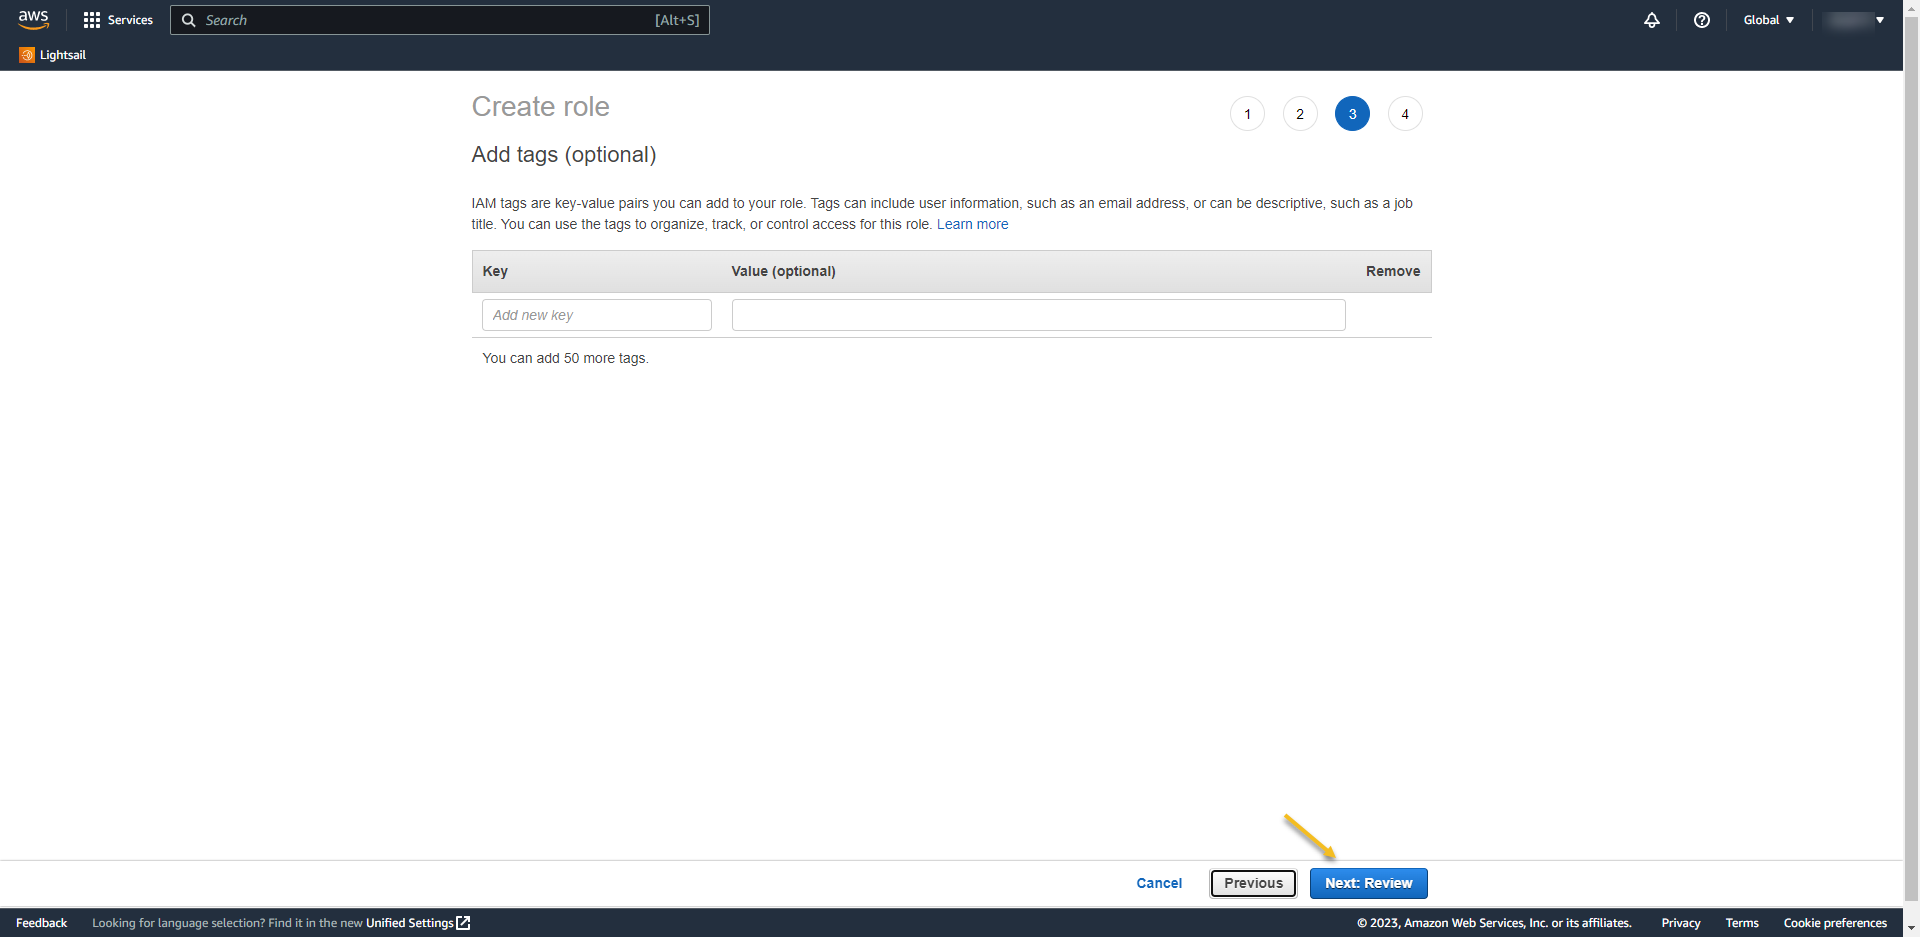
- On the next page search for the permission that you want to assign to users when they log in. I used the system administrator here.
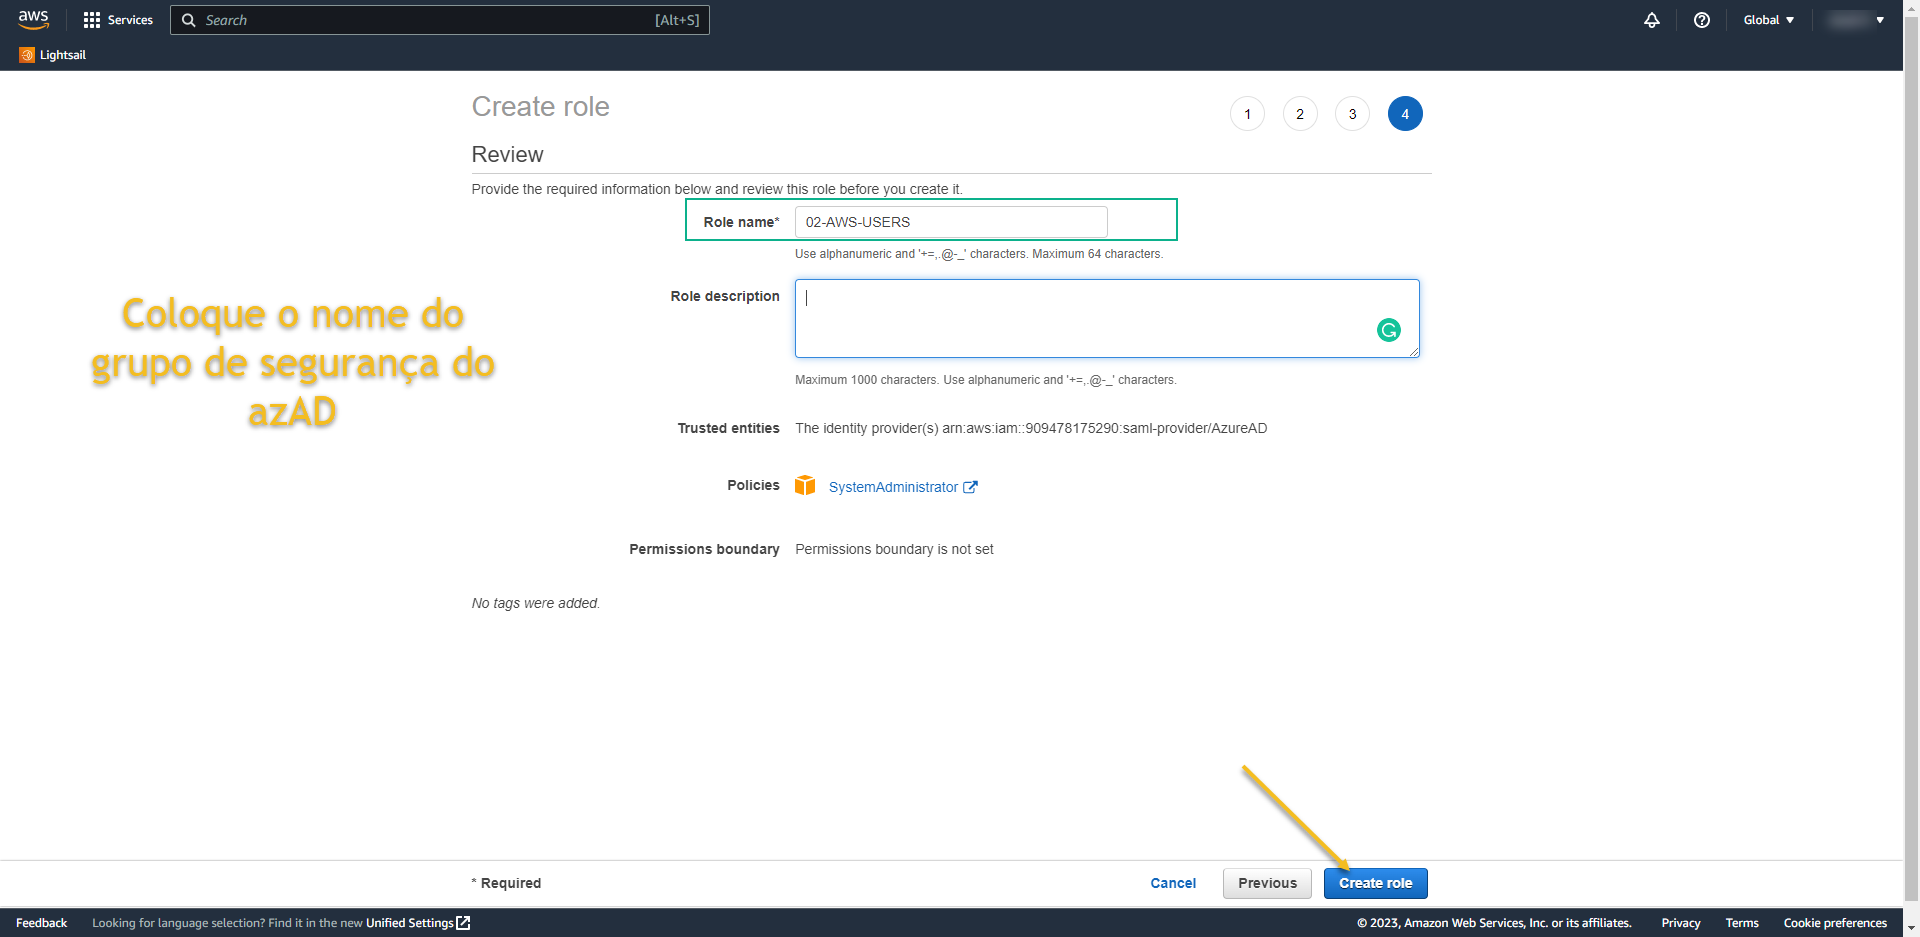
- At review page, write the role name
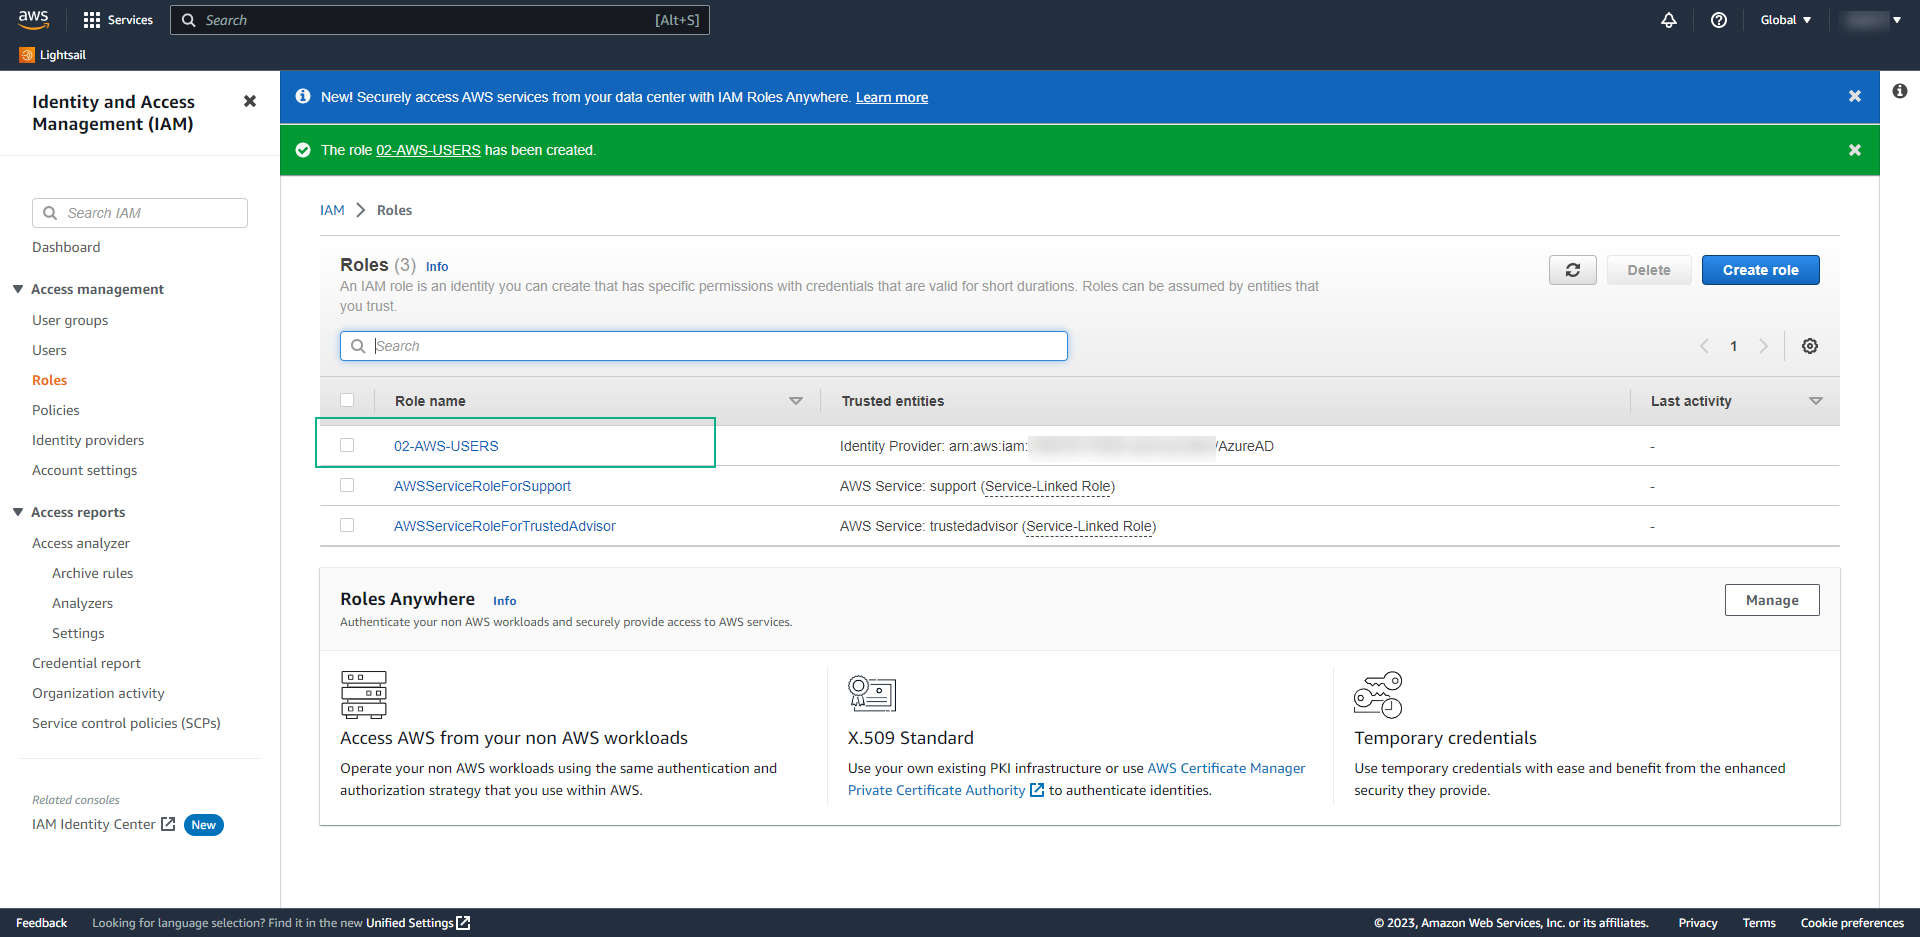
- Role name: THE-NAME-OF-GROUP-ON-AZURE-AD
- REMEMBER: If you don’t do it this way it won’t going to work…
- Now we need to create a new Policy.
- Select Policies from left menu
- and click on Create Policy:
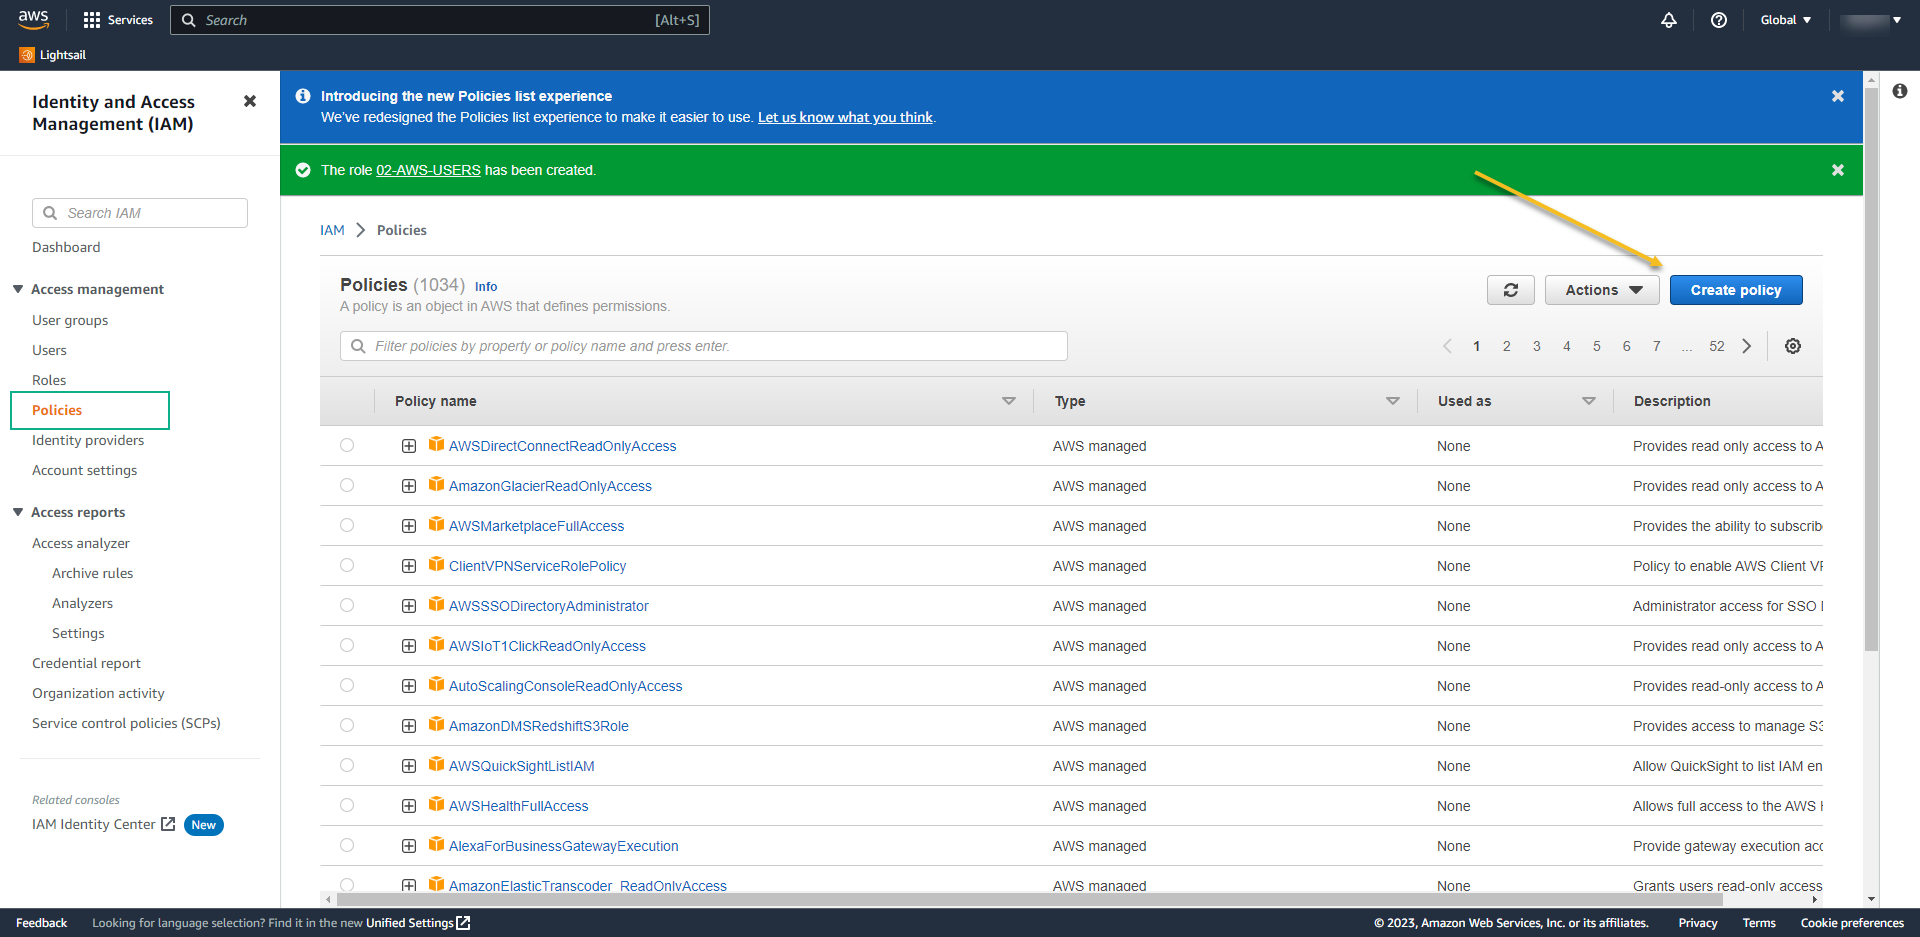
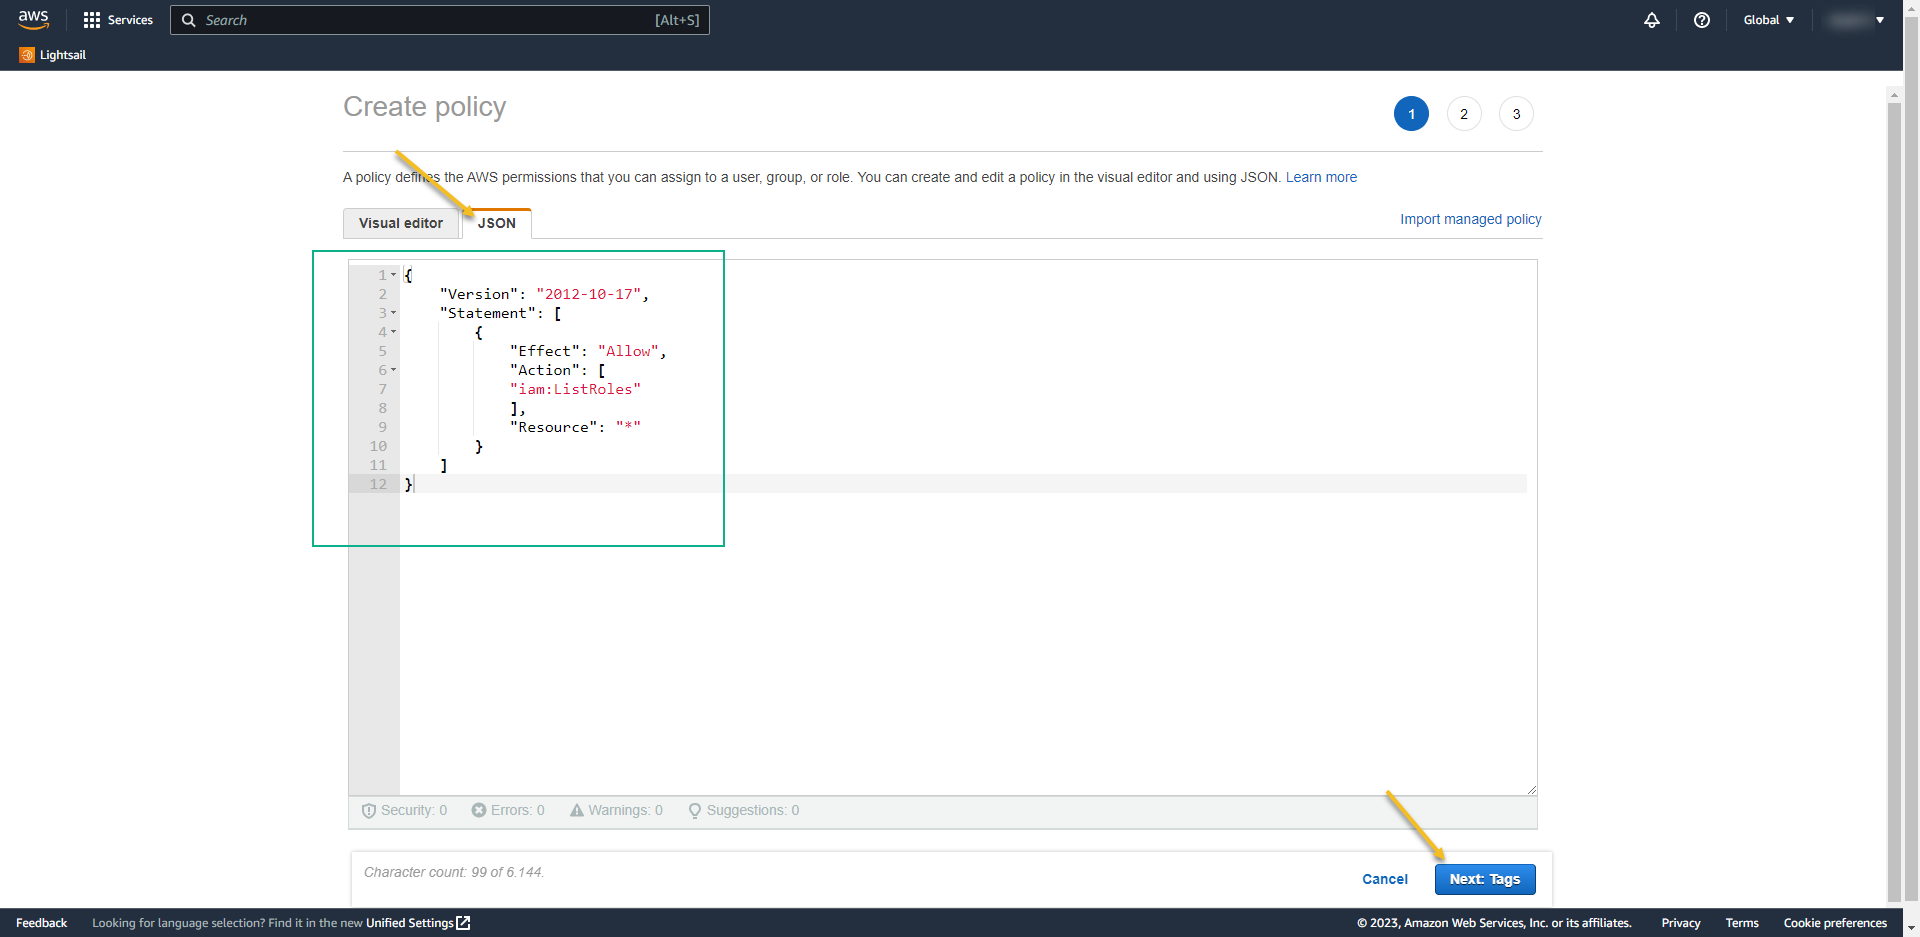
- Change the view to JSON and paste the data below:
{
    "Version": "2012-10-17",
    "Statement": [
        {
            "Effect": "Allow",
            "Action": [
            "iam:ListRoles"
            ],
            "Resource": "*"
        }
    ]
}
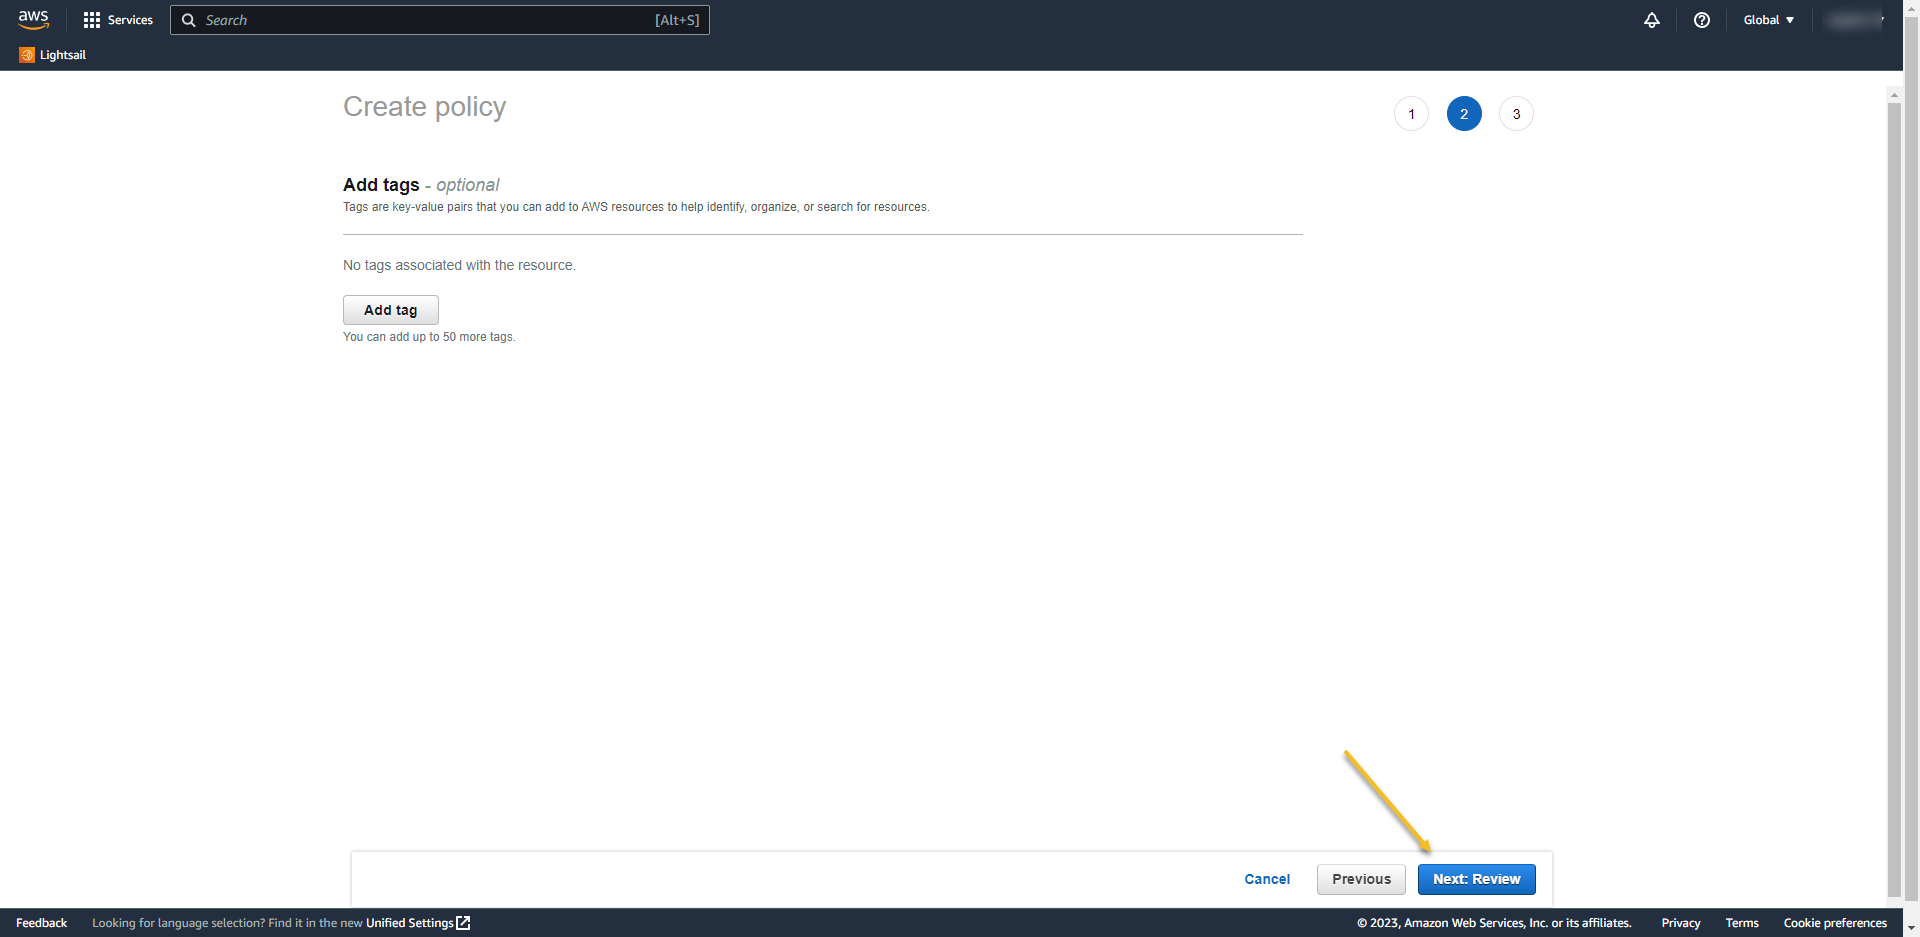
- Policy Name: AzureAD_SSOUserRole_Policy
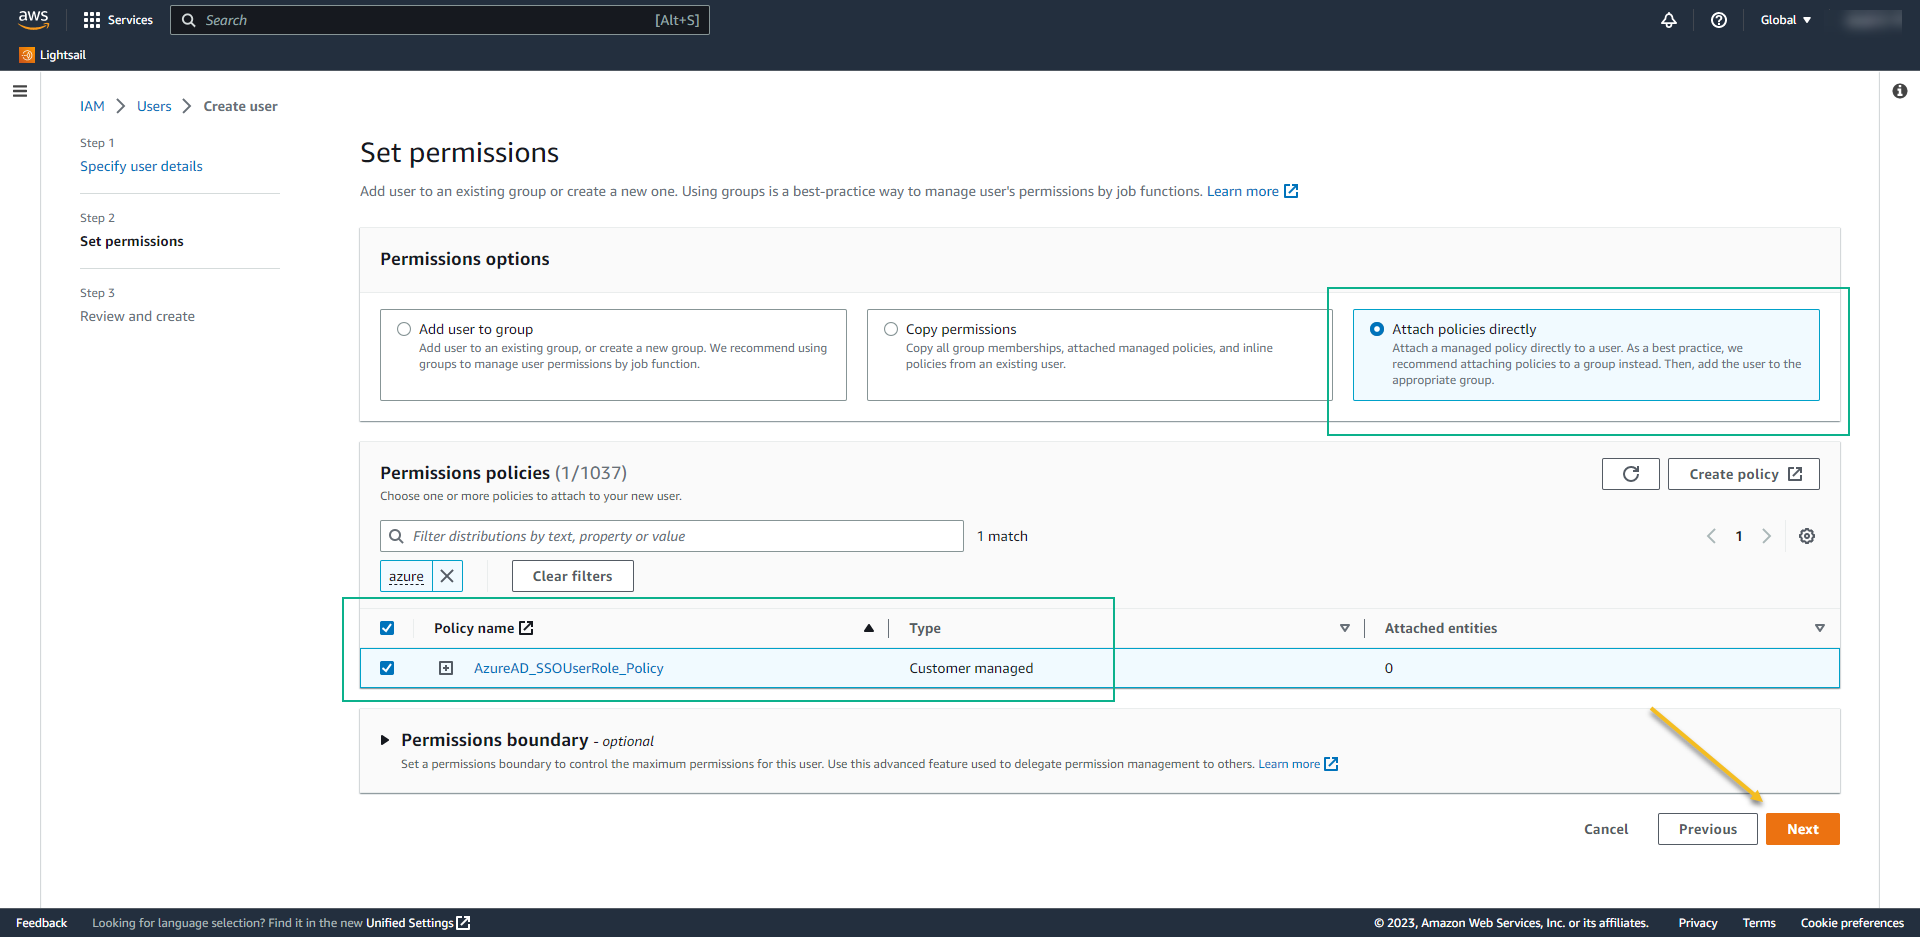
- Now we need to create a user with API access.
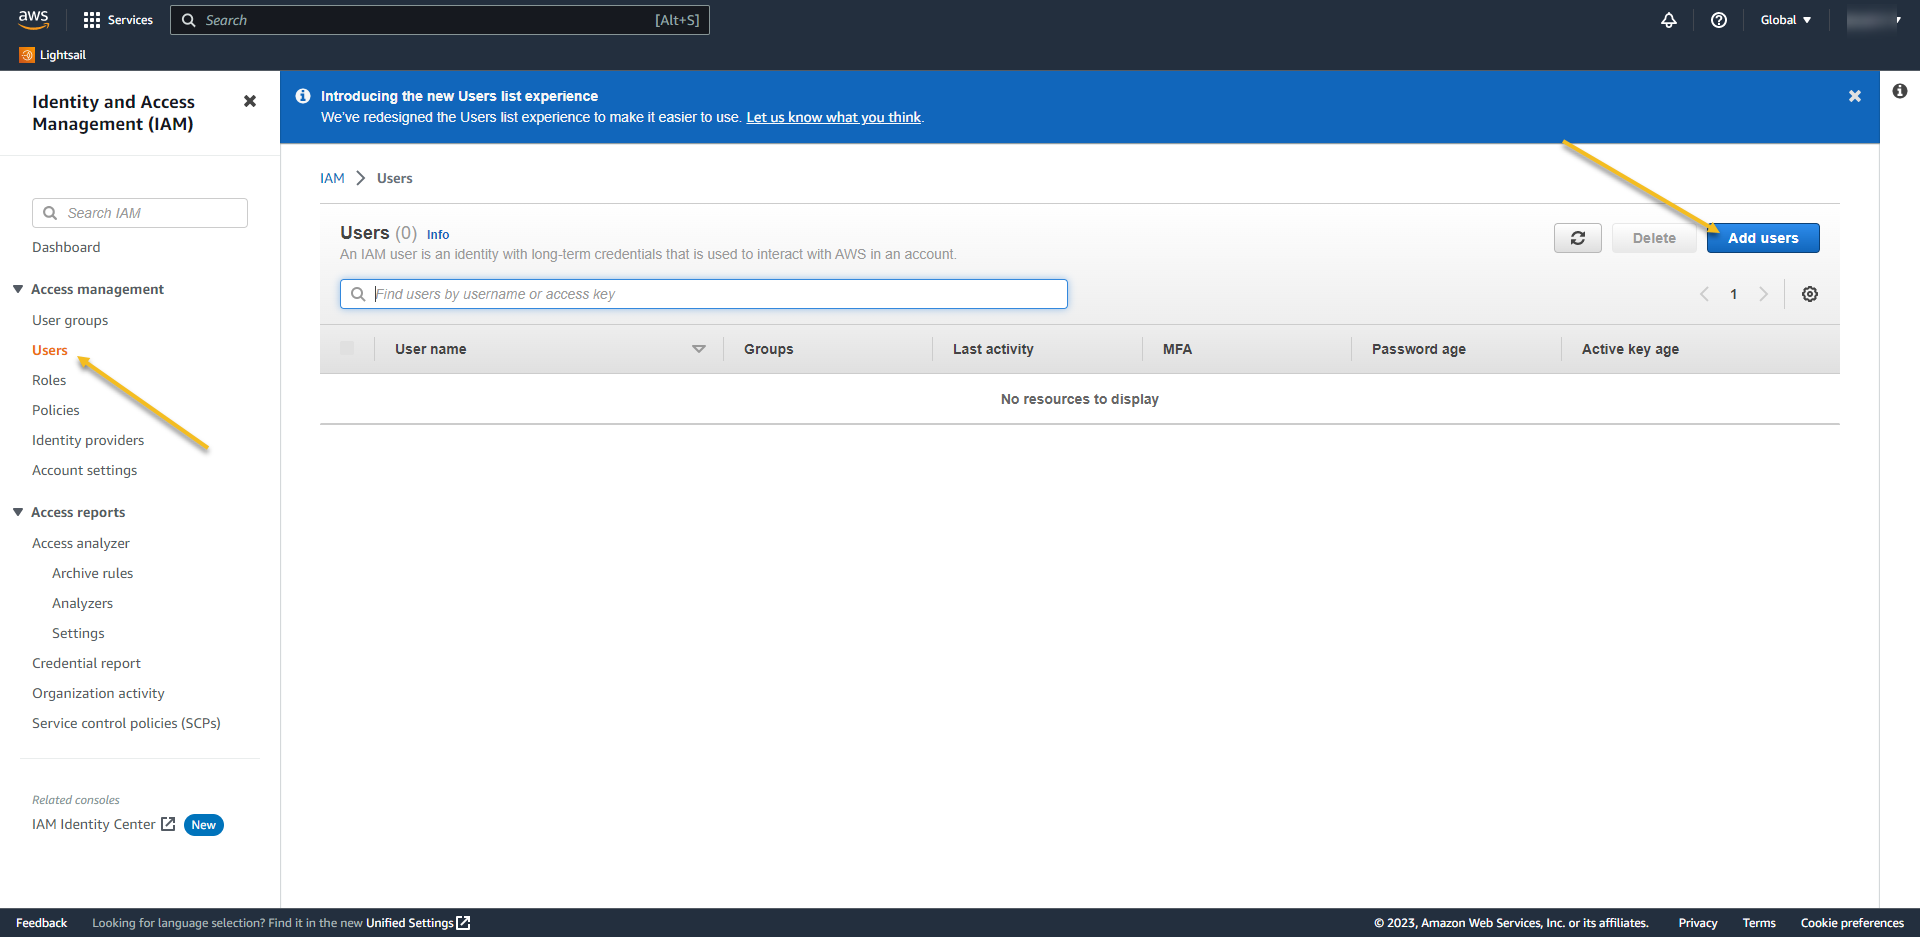
- On left menu click on Users and ADD USERS
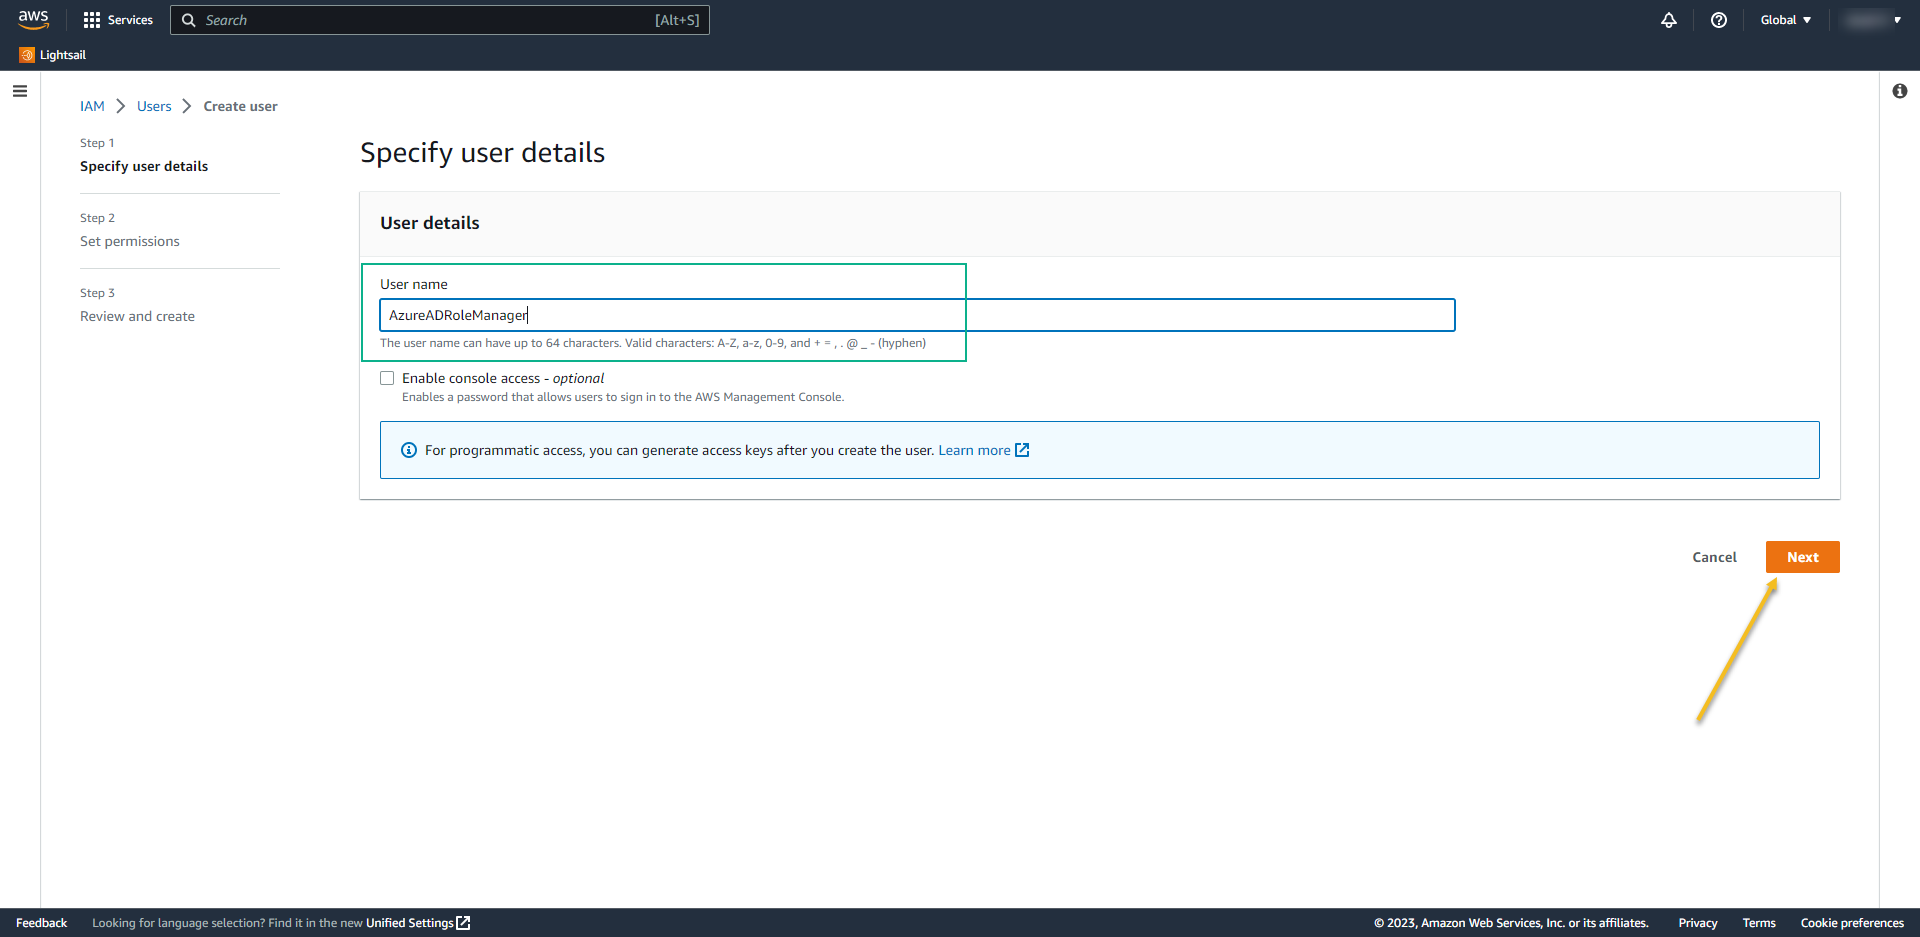
- User name: AzureADRoleManager
- Permission options: Attach policies directly
- Select the policy that we created before: AzureAD_SSO_user_role_Policy
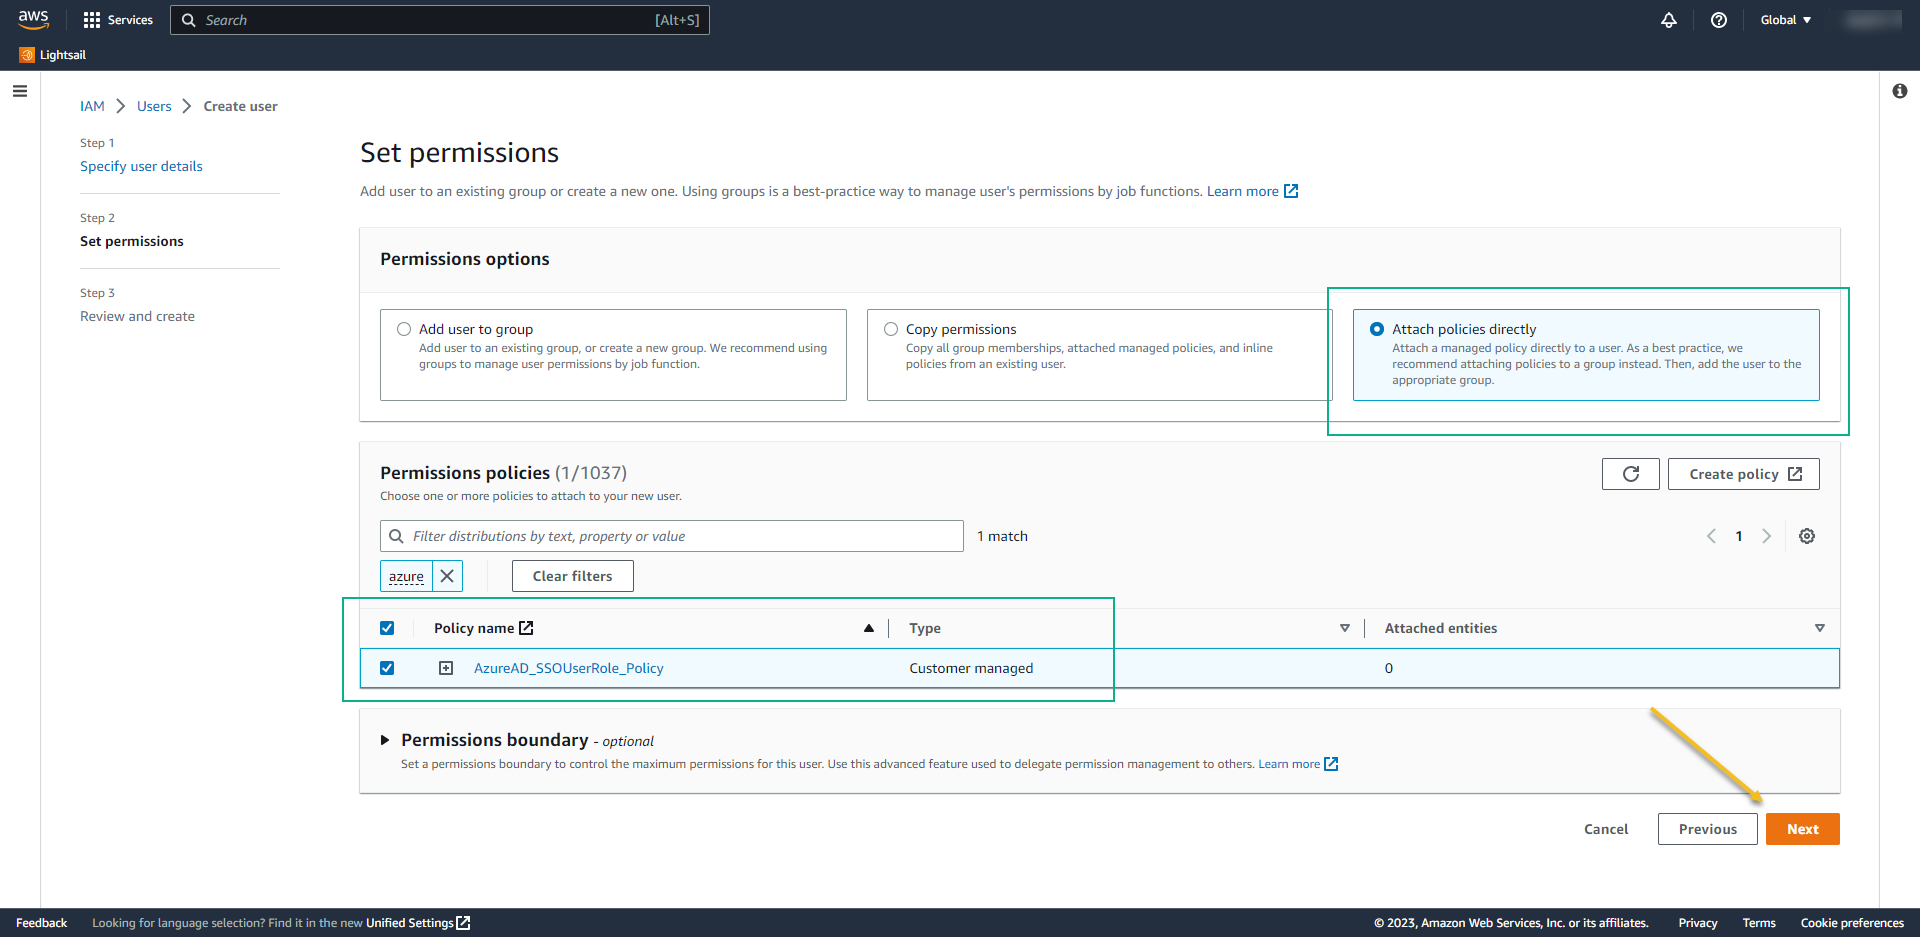
- Click on next to review and create.
- Access the new user again
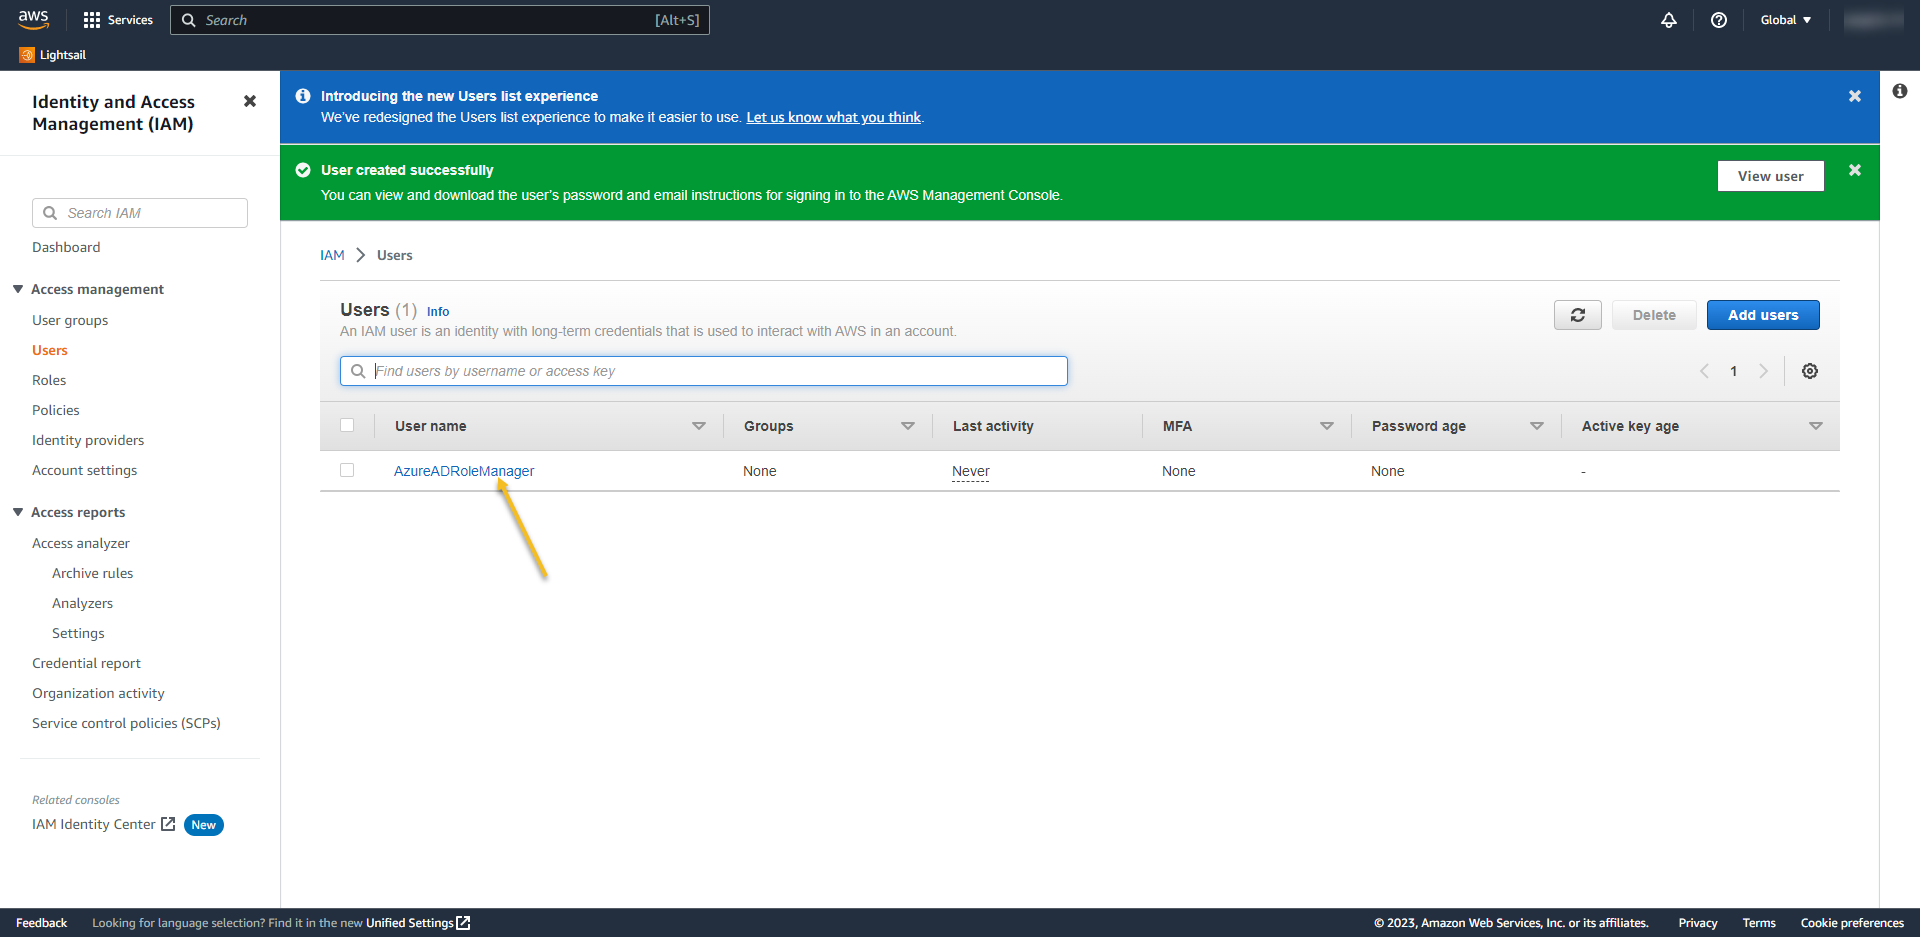
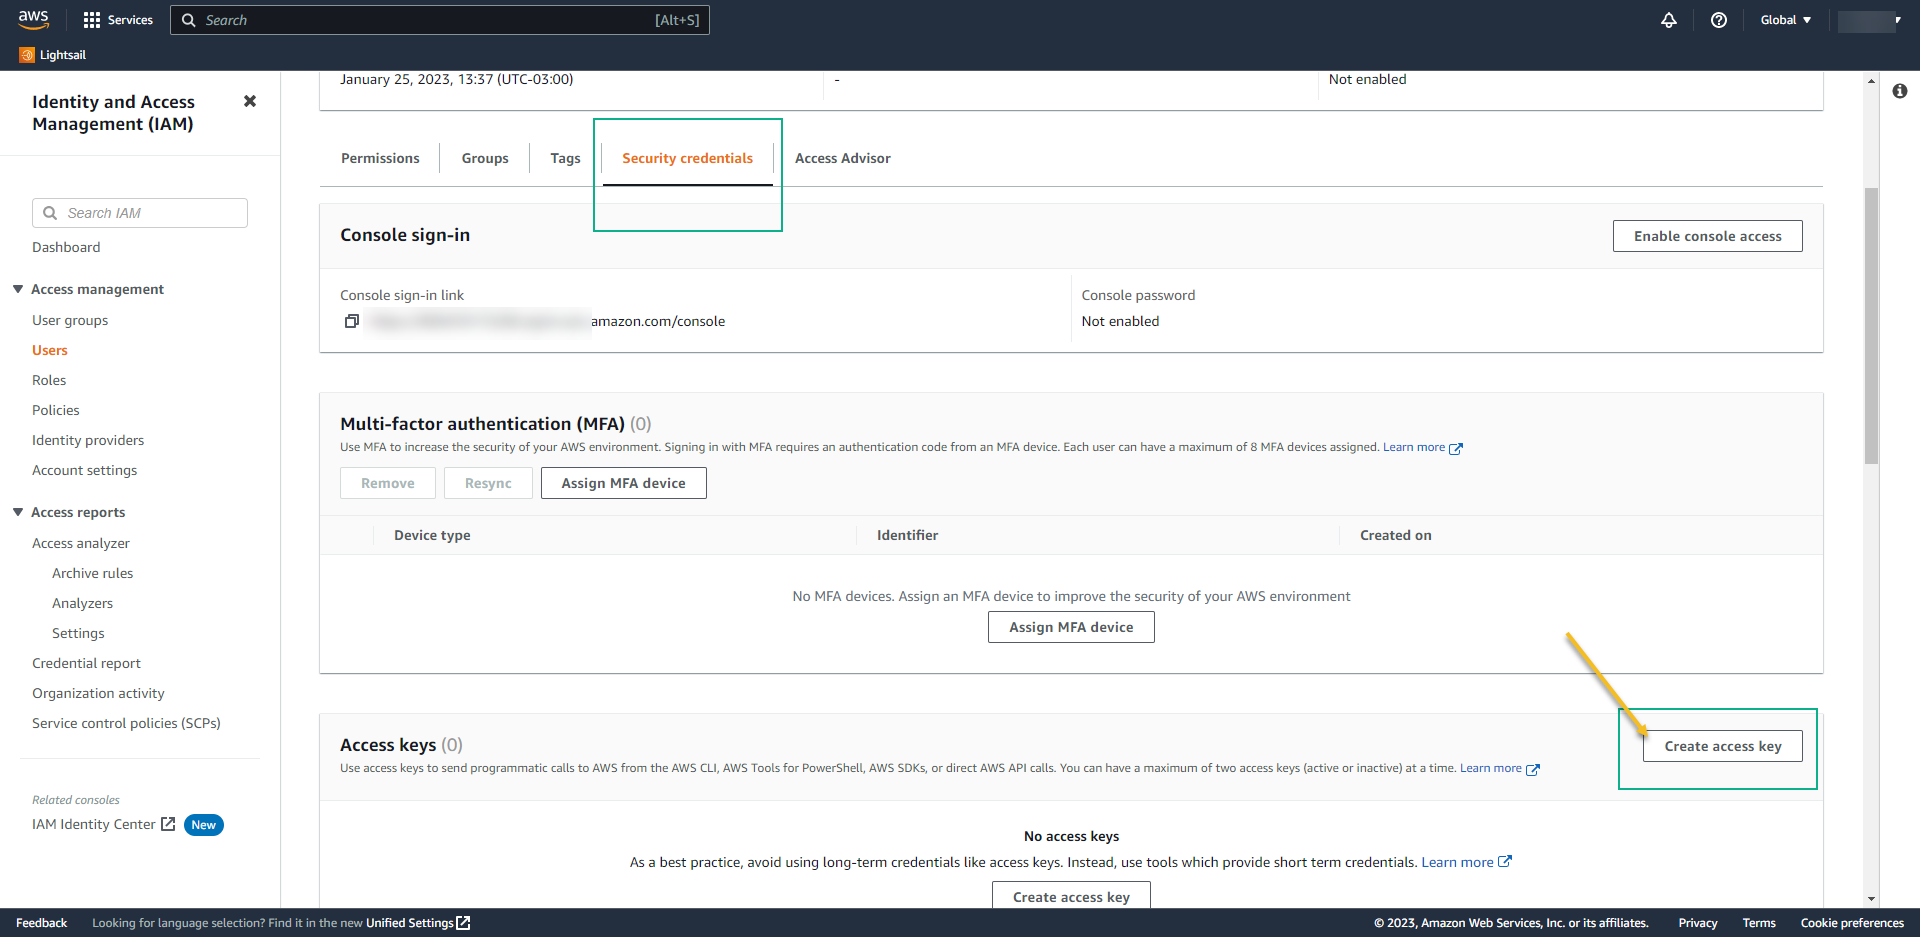
- Go to Security Credentials and click on Create Access Key
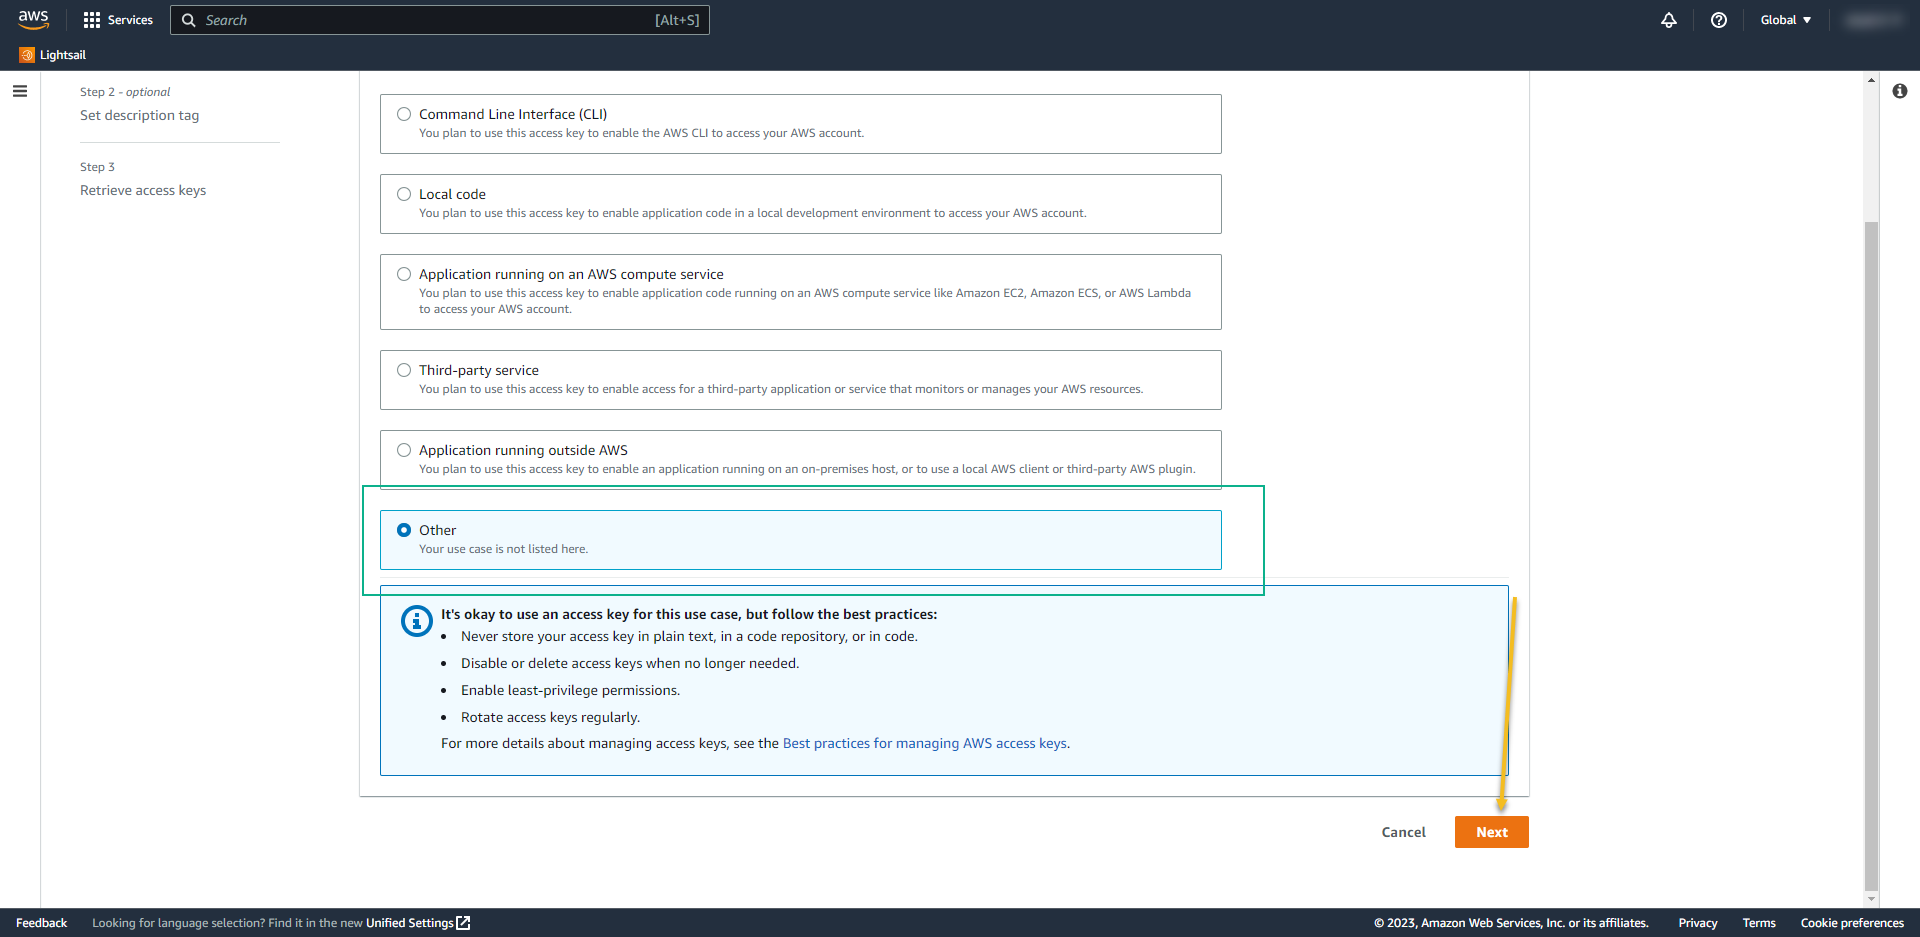
- Select the use case Other
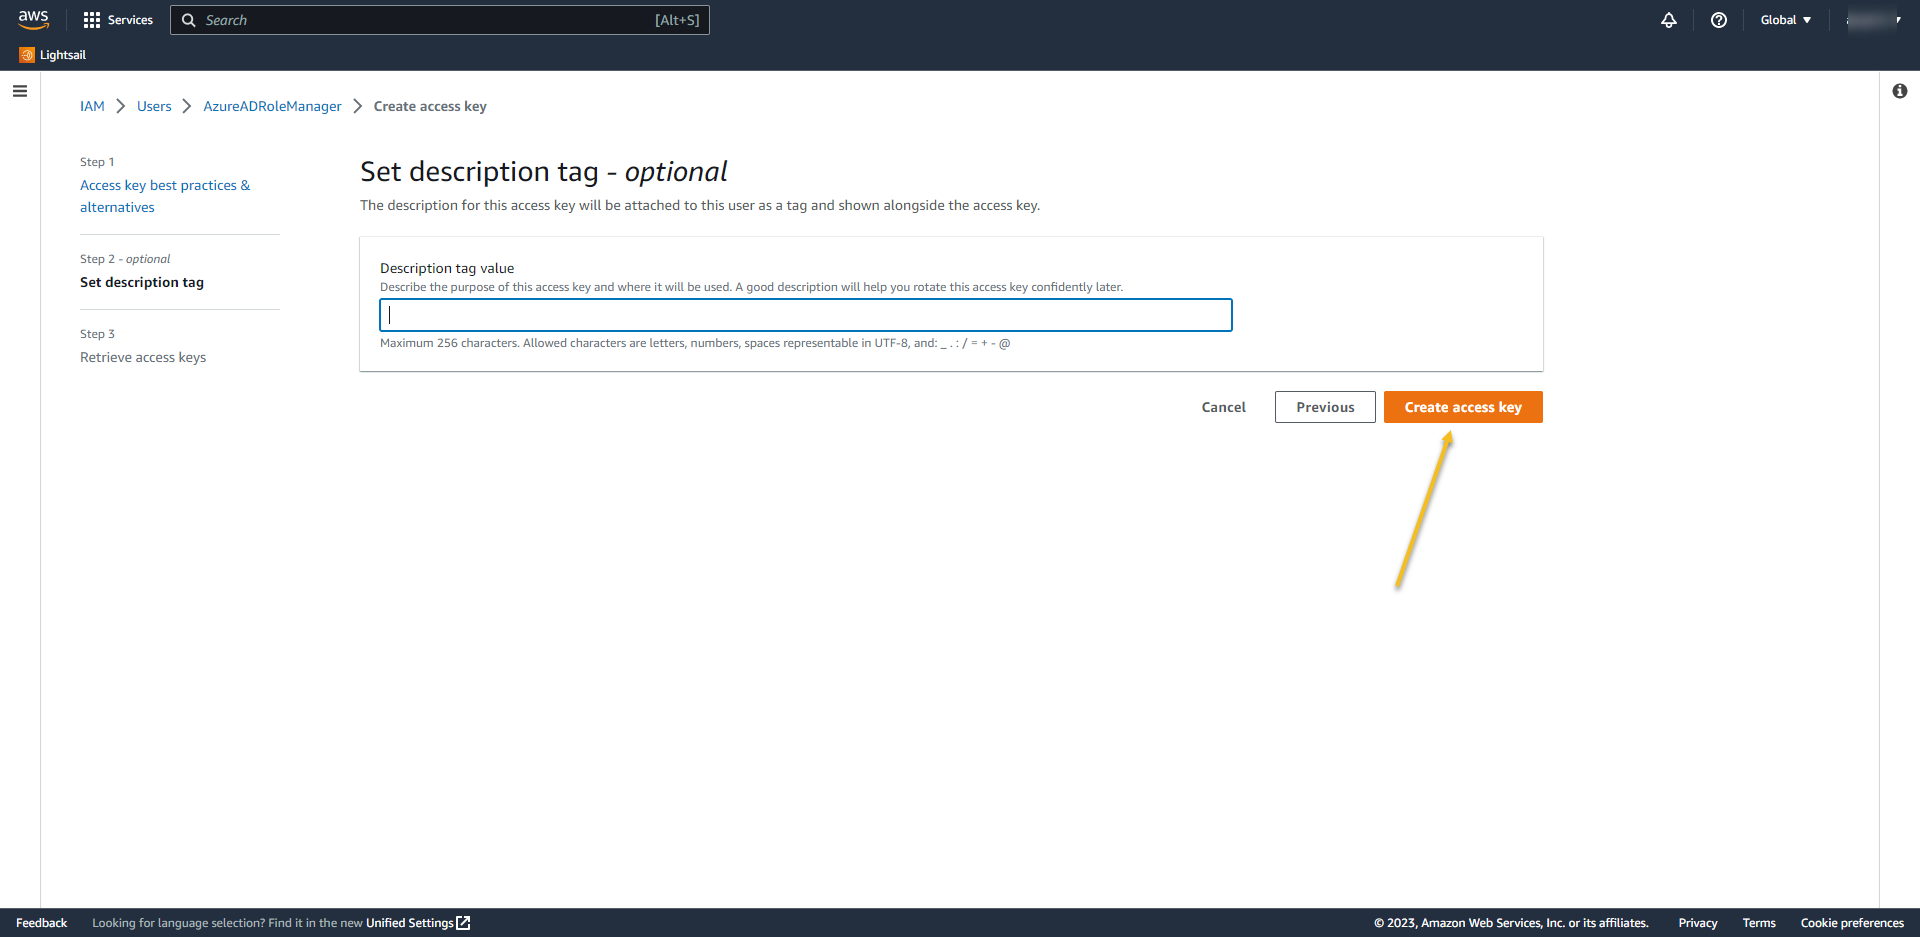
- Click on Create Access Key
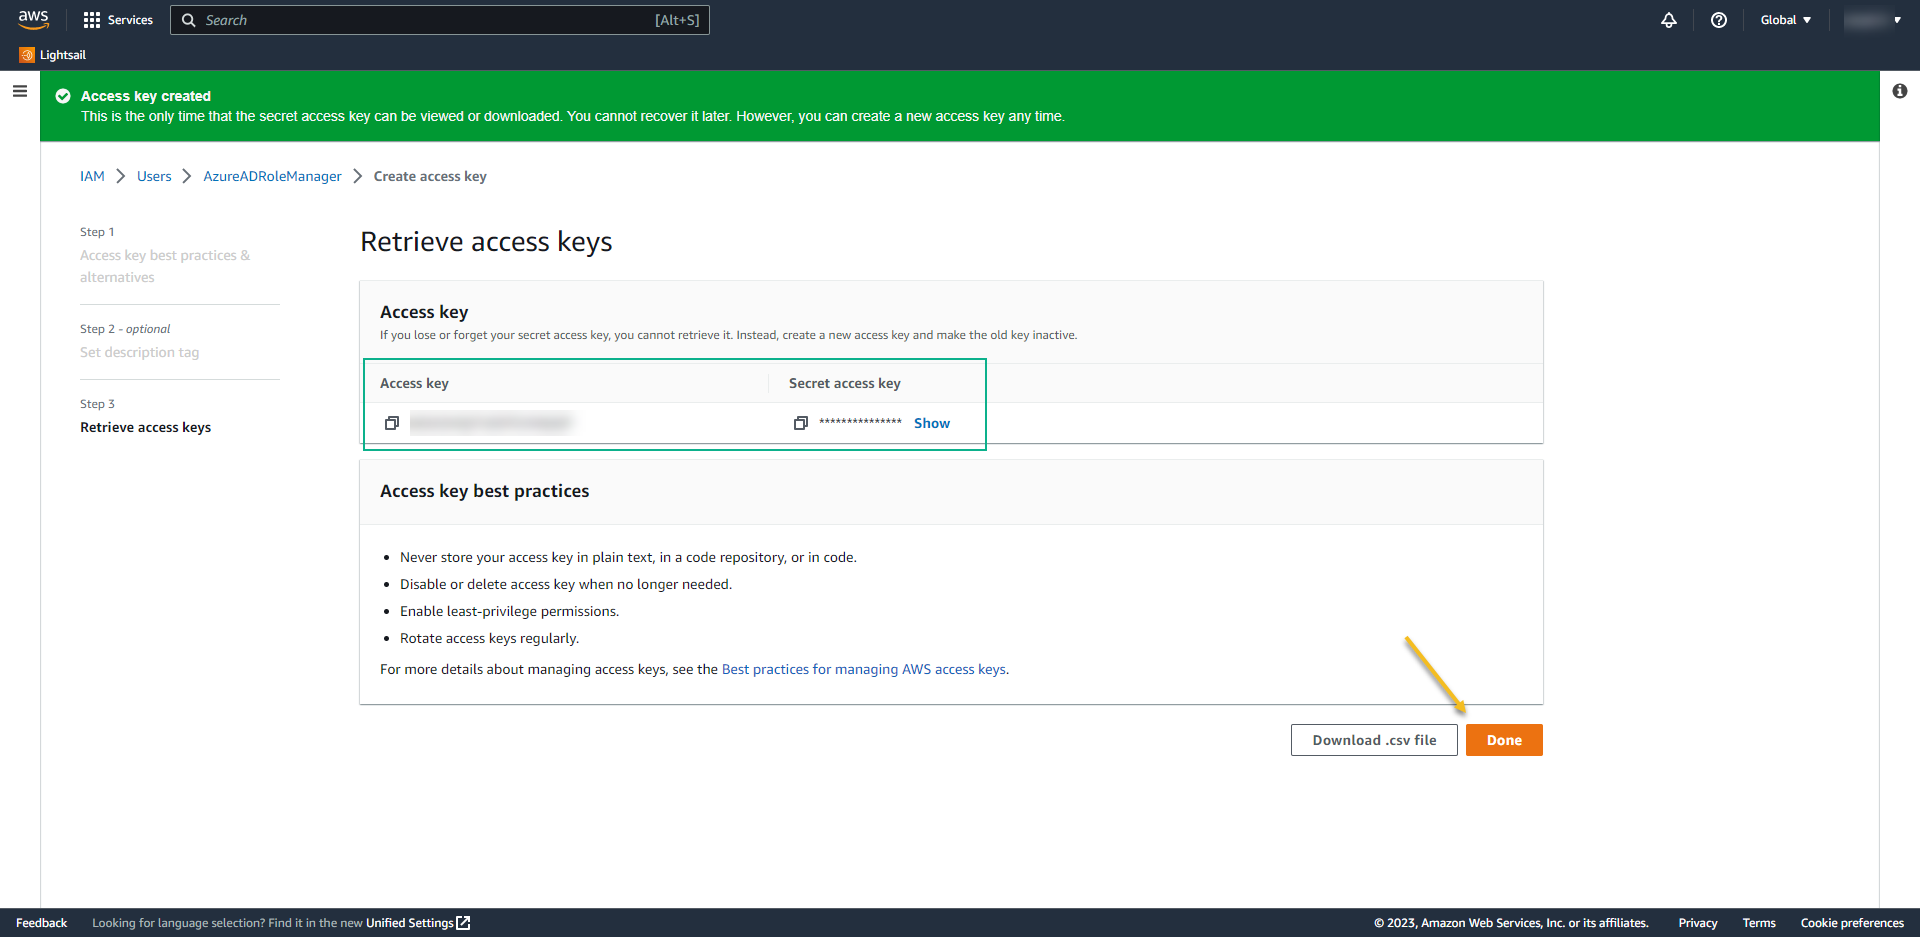
- At the next screen, take note of the Access Key and Secret Access Key. We’ll use it back on Azure AD.
AZURE
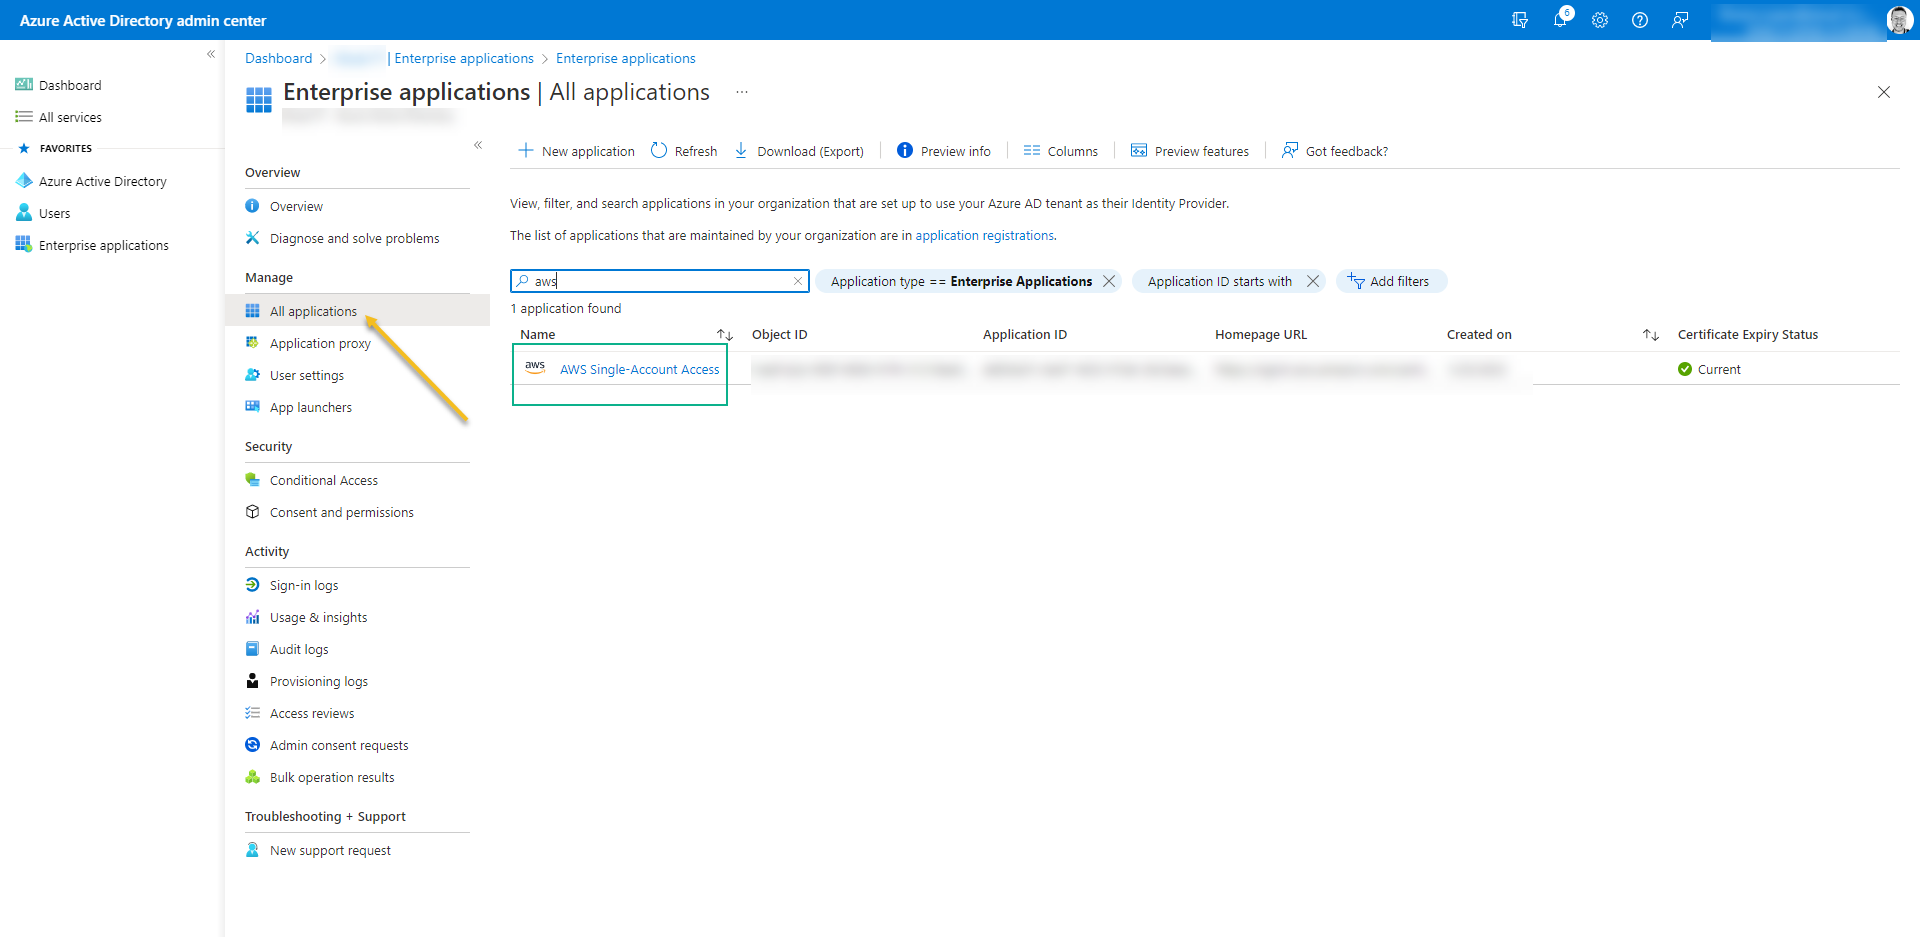
- Back to Azure -> Access the Enterprise Application and open the app AWS Single-Account Access
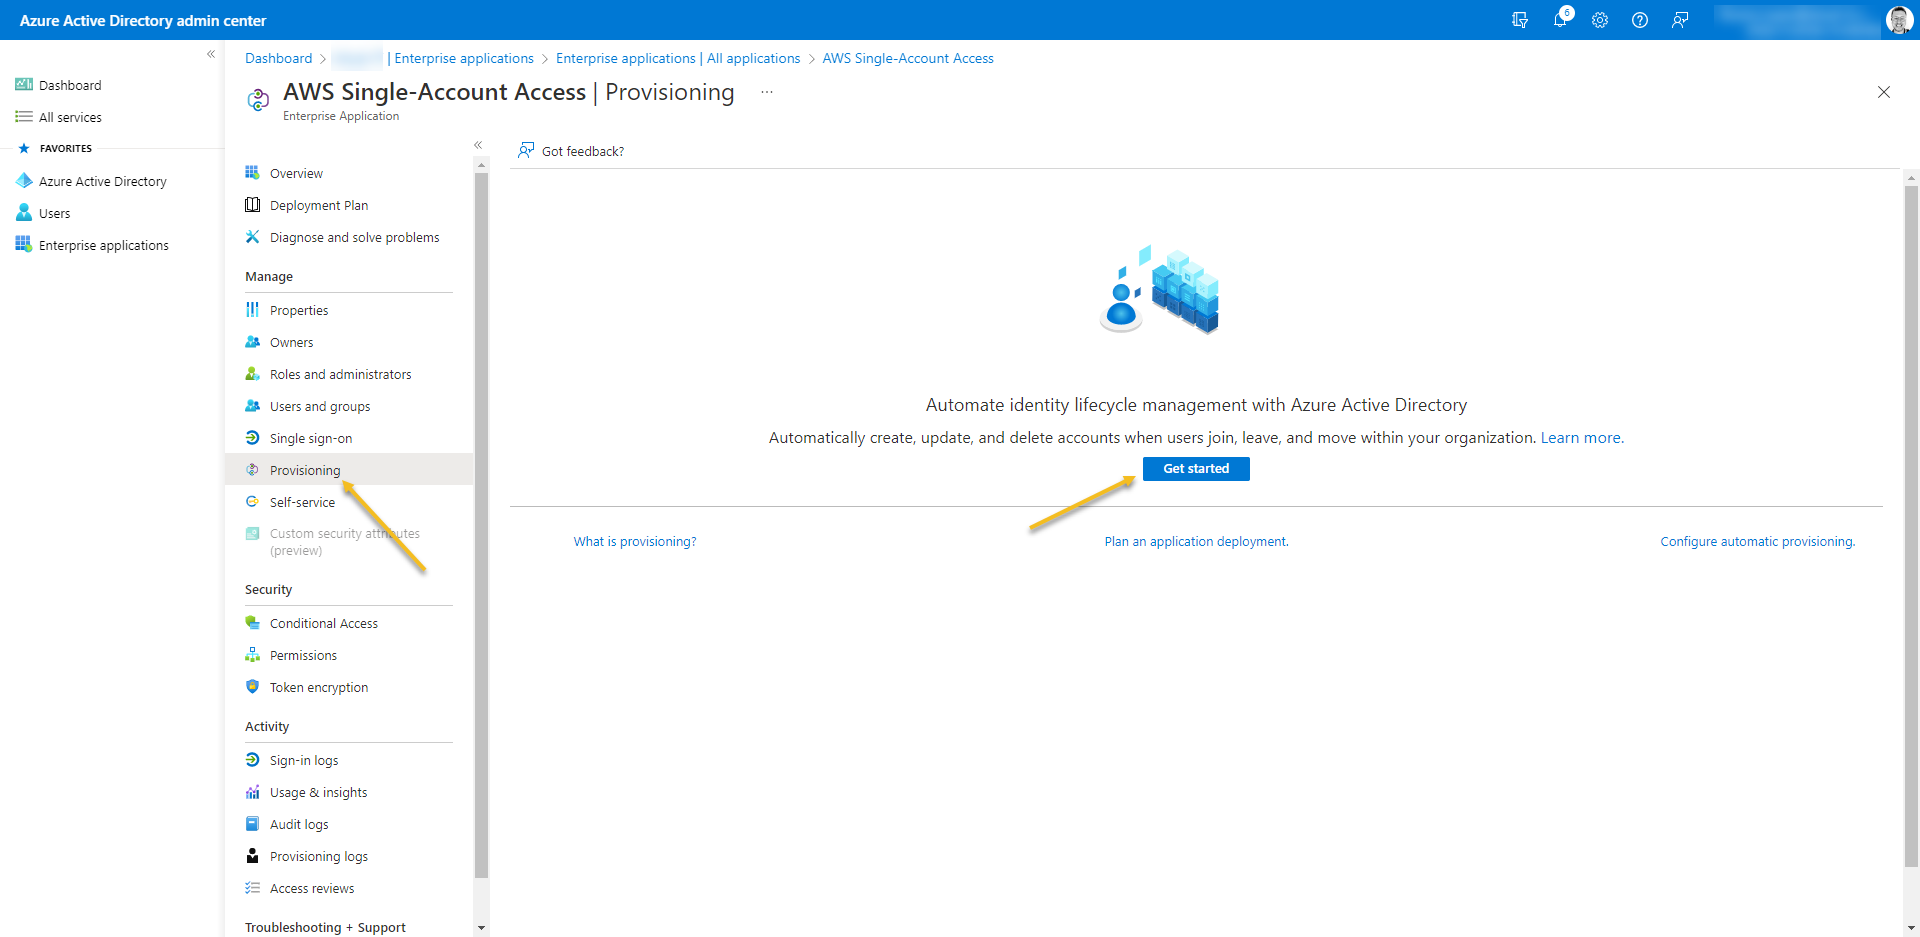
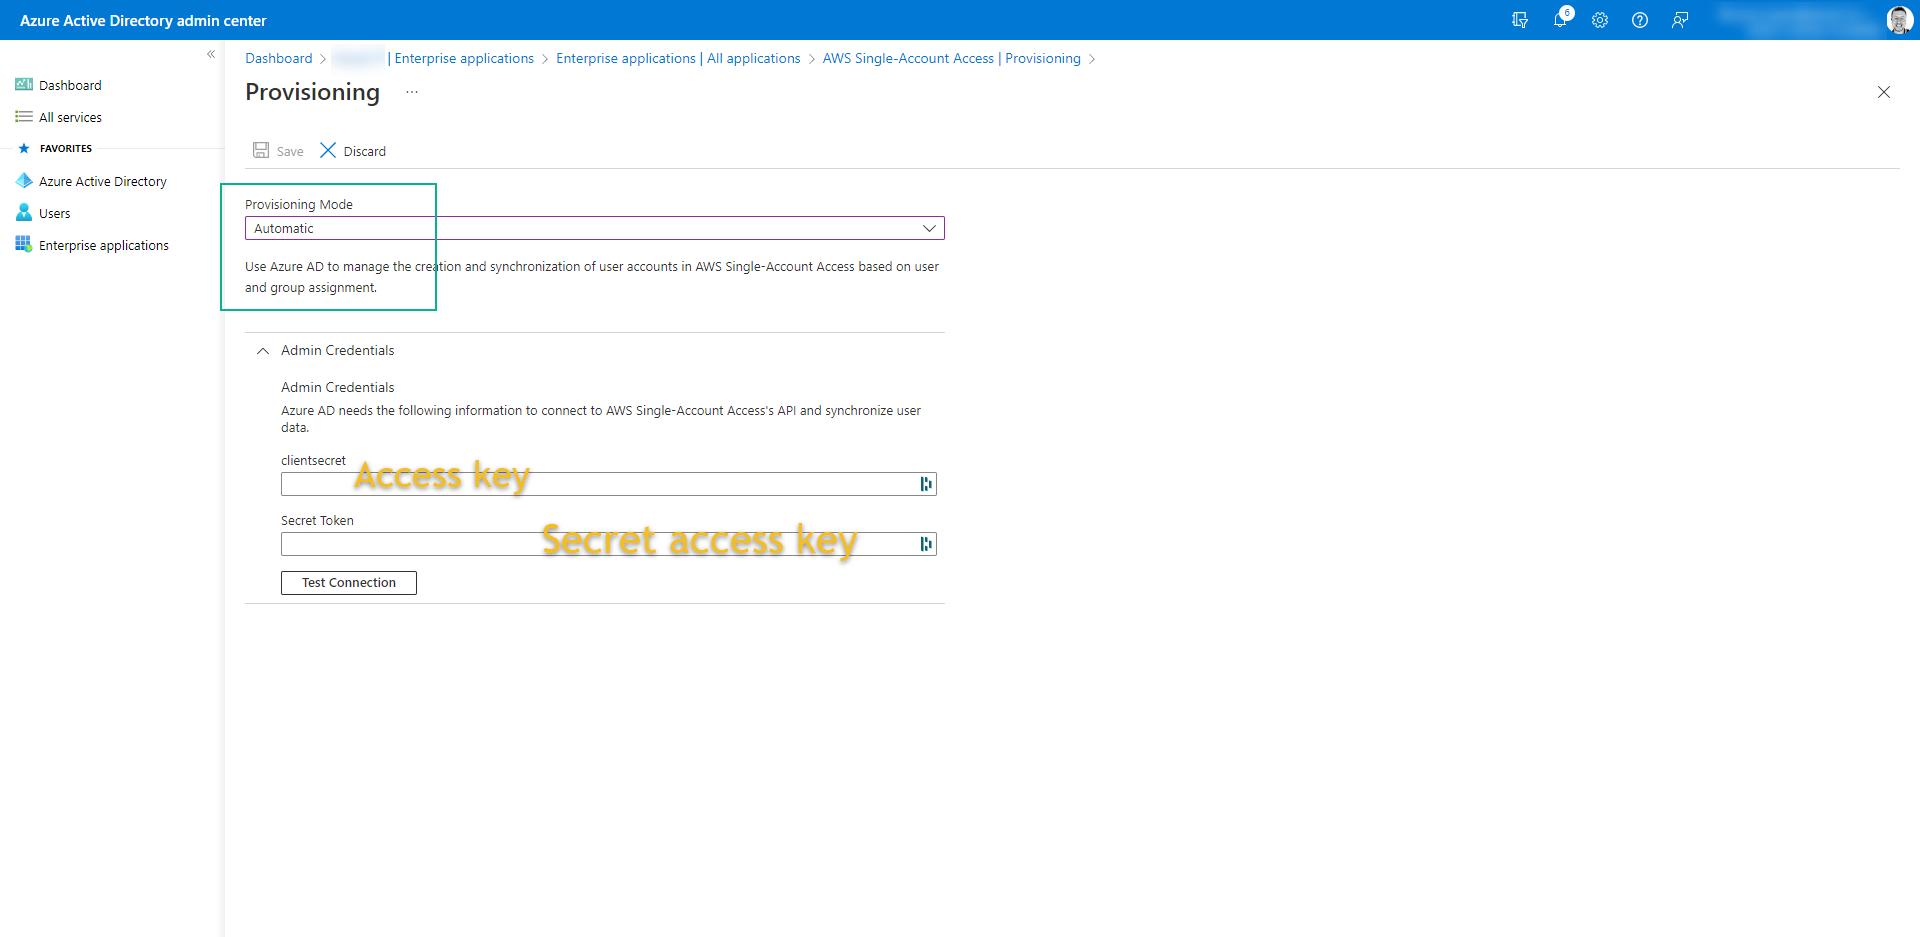
- Go to Provisioning -> Get- started
- Change the Provisioning Mode: Automatic
- Admin Credentials:
- clientsecret: AWS-ACCESS-KEY
- Secret Token: AWS-SECRET-ACCESS-KEY
- Both you get from user that you create on AWS
- Click on Test Connection -> Save
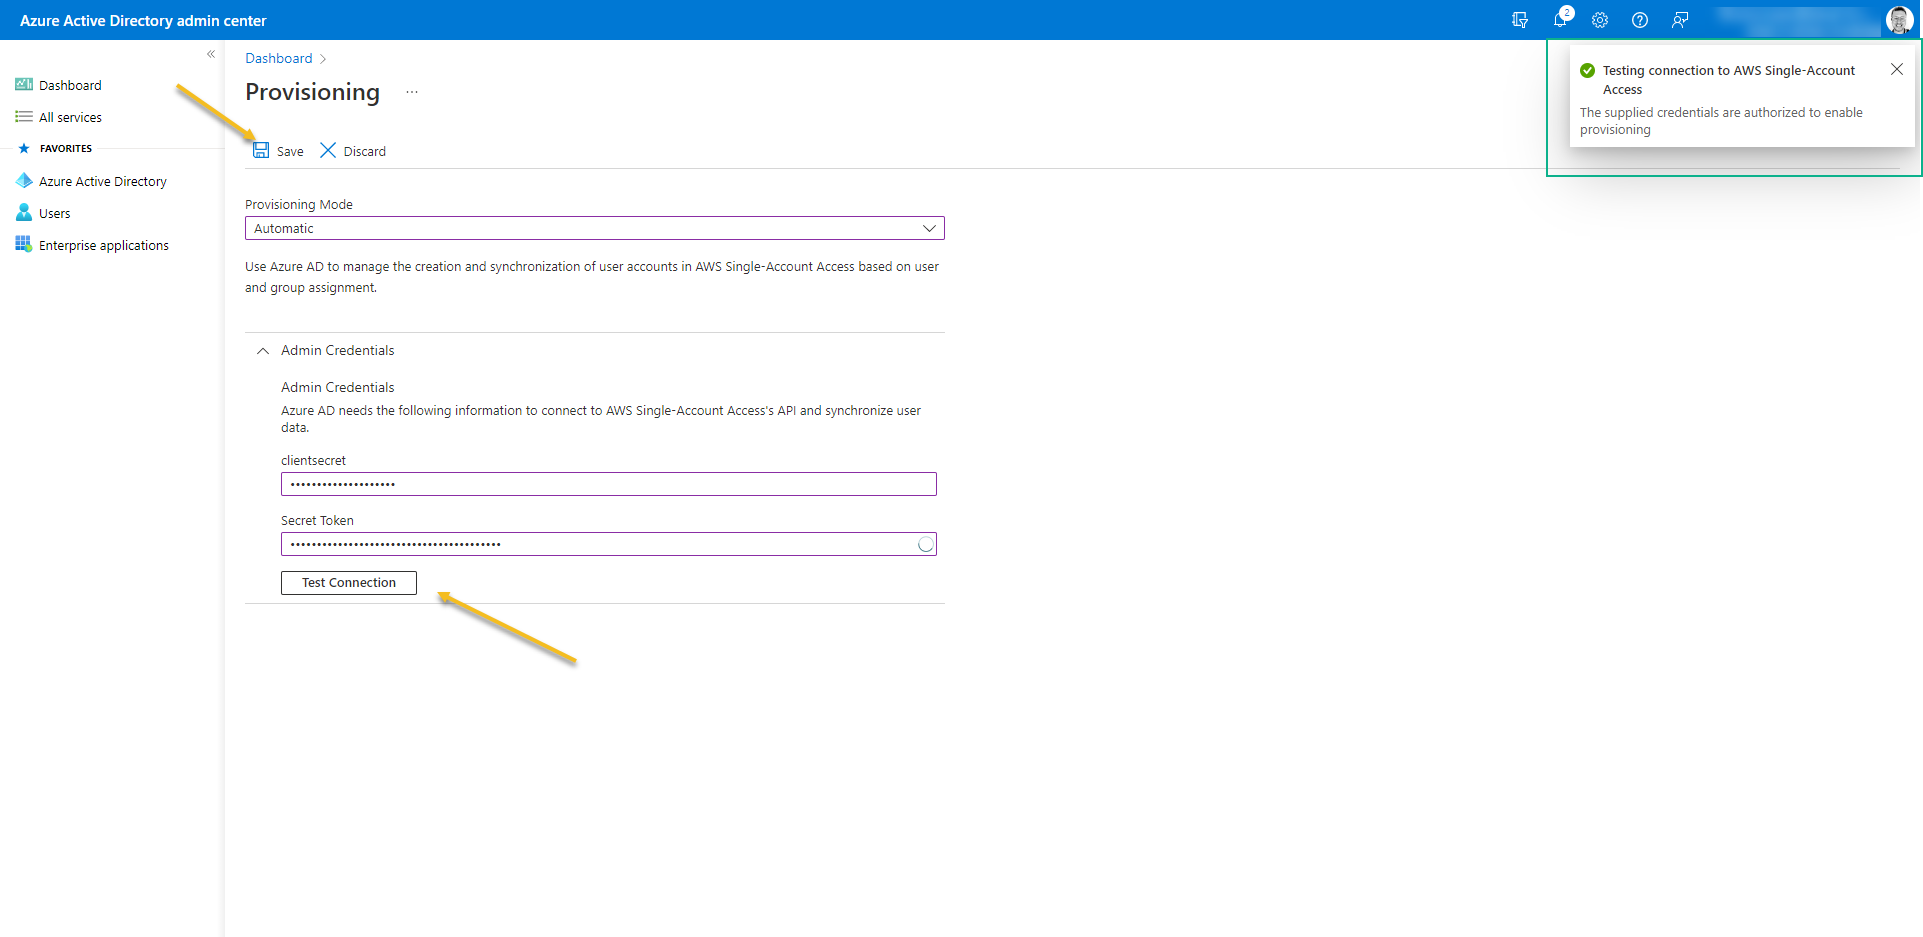
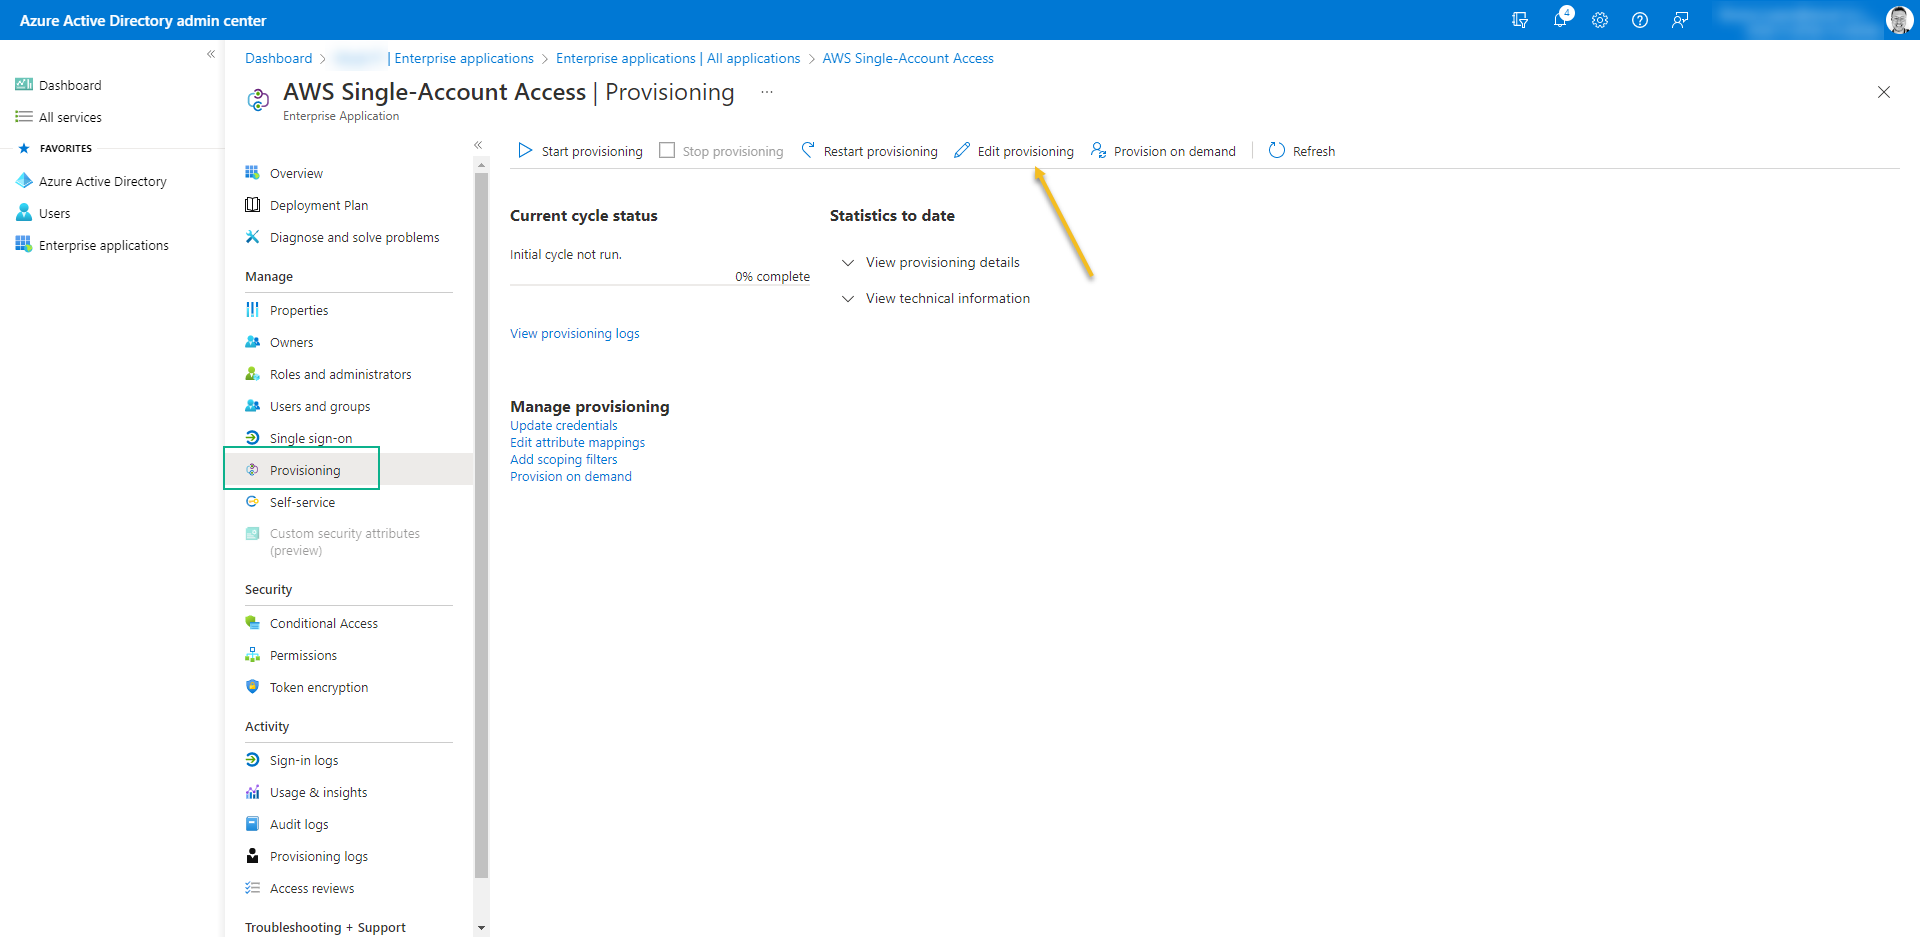
- Go out from the Provisioning screen and access again – It’s necessary just to refresh the page.
- Now click on Edit Provisioning
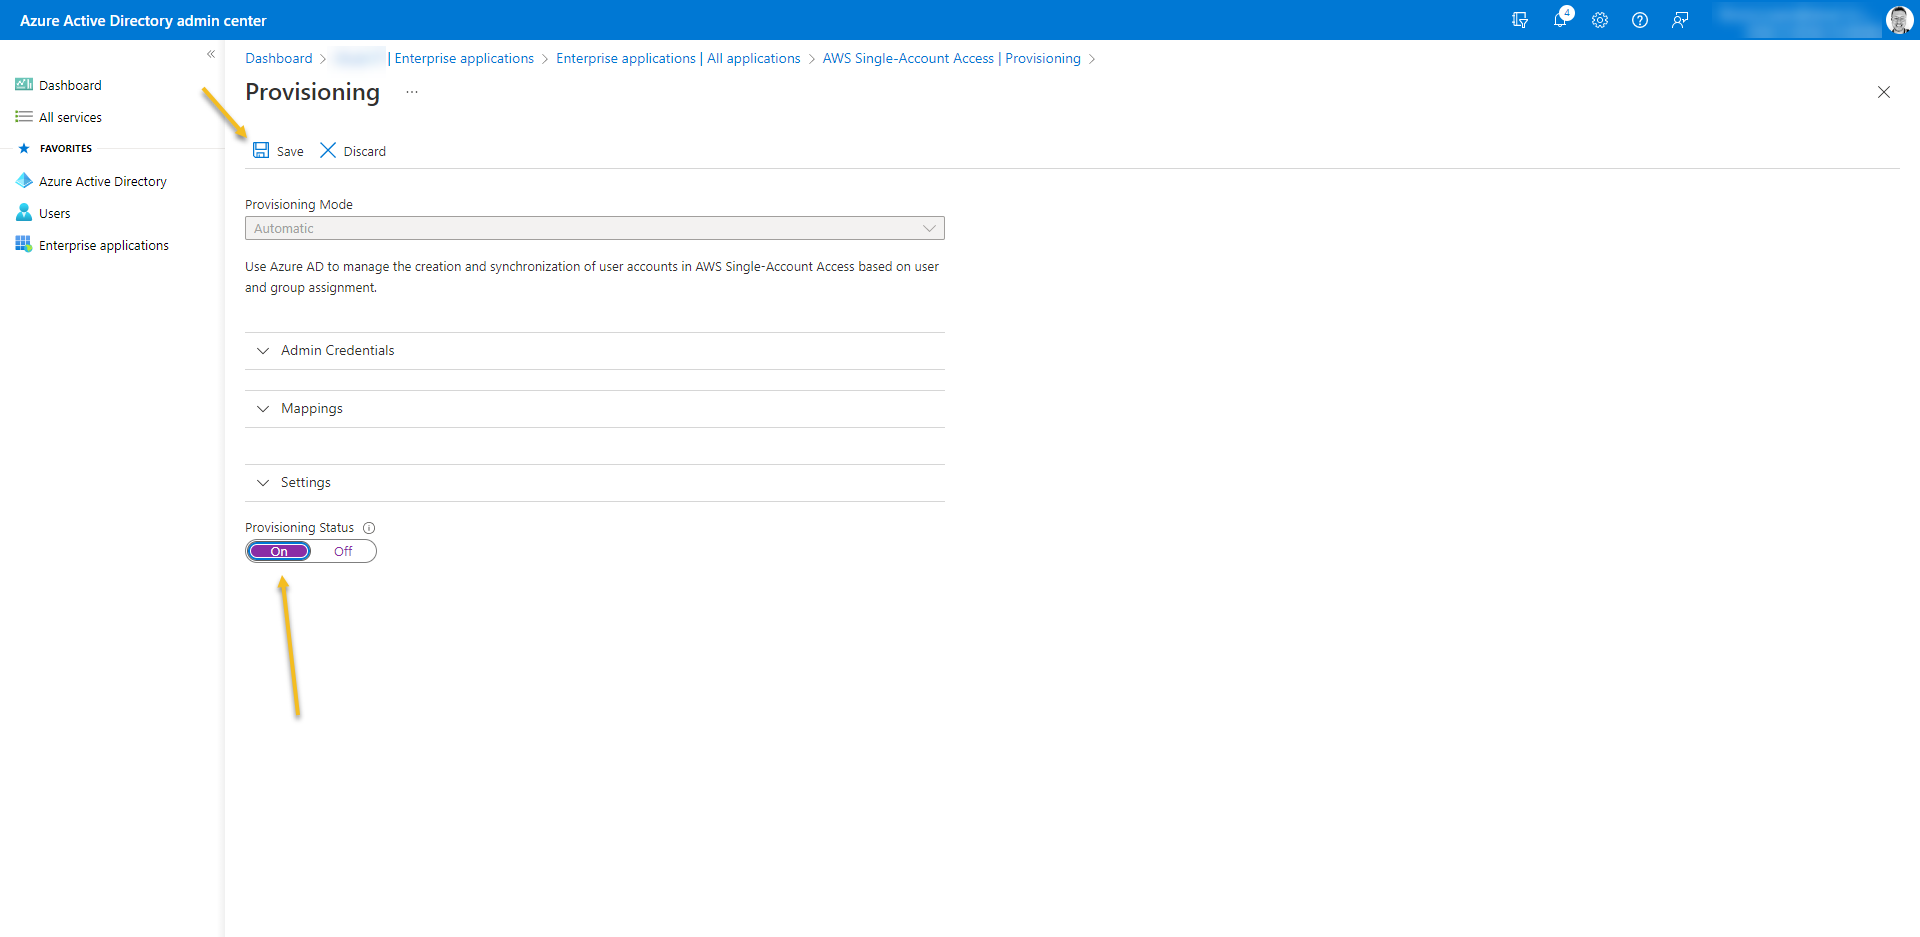
- Turn on Provision Status
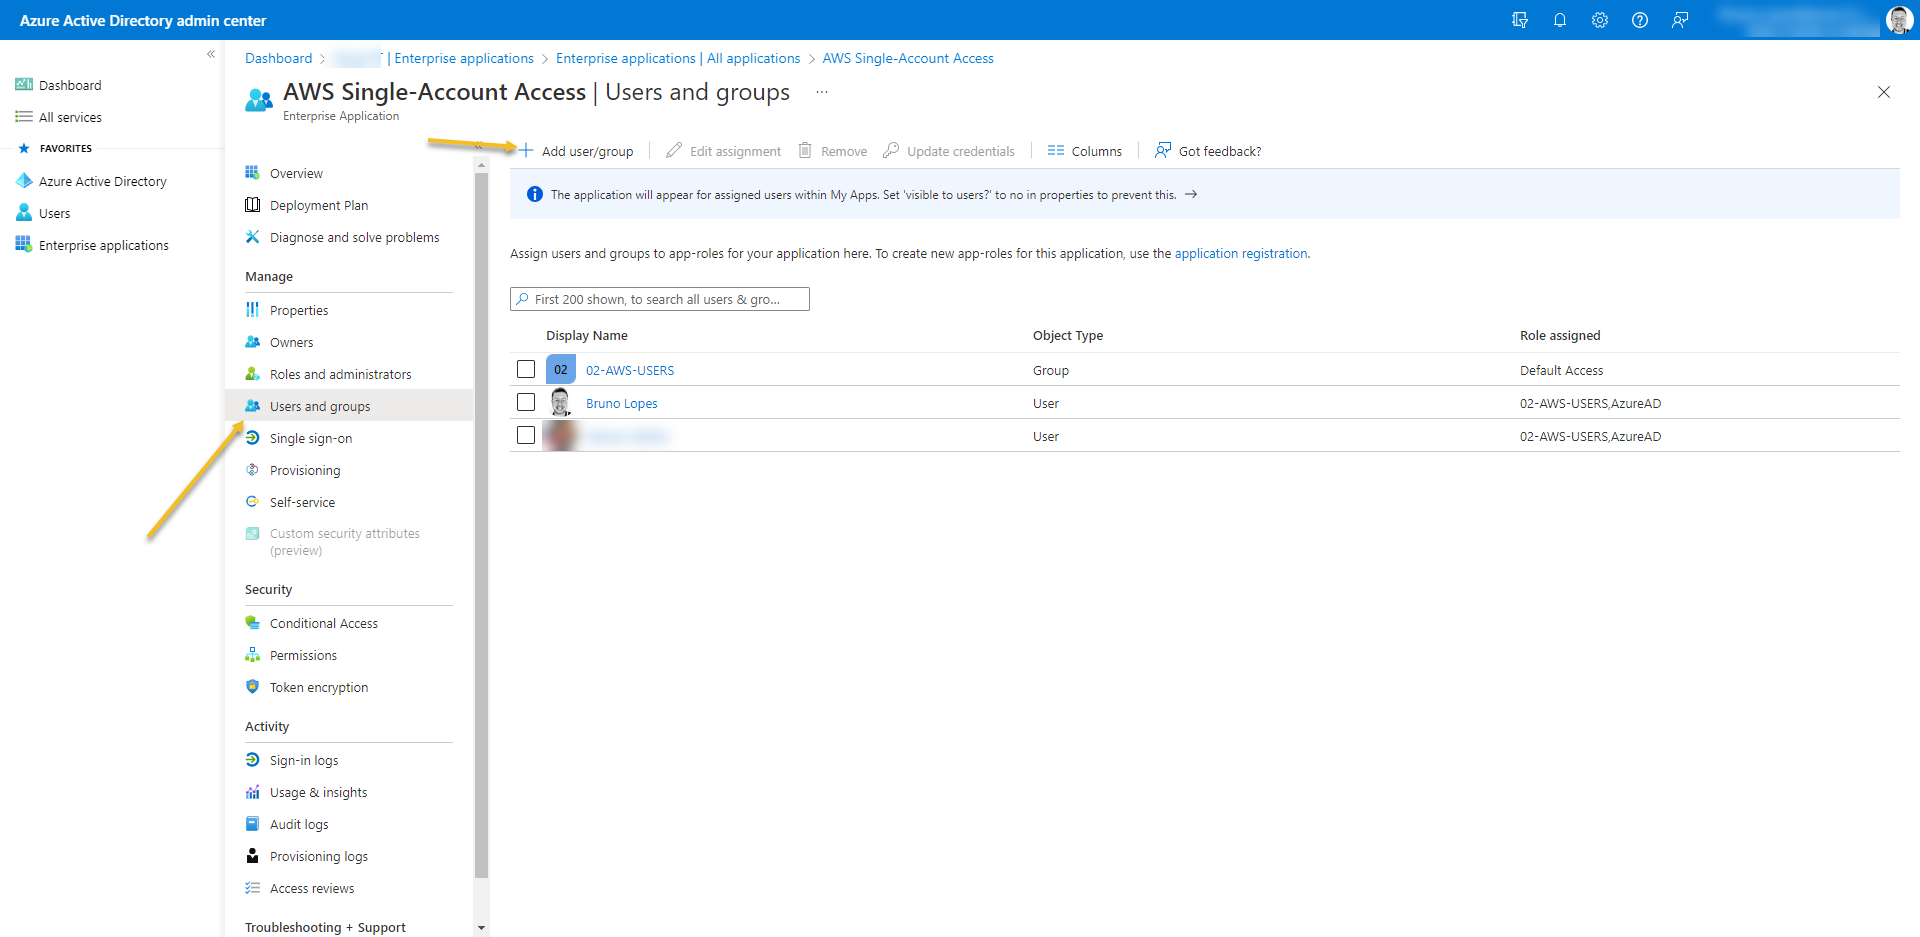
- At last, Go to Users and Groups from the enterprise application and add who is going to have access.
- If you don’t have Azure AD Premium you cannot add a GROUP here.
- The users must be members of the security group even if it is added manually at Users and Groups from the enterprise application.
- The security group must be direct members
- You must wait the provision time of synchronization (could take up to 40min)
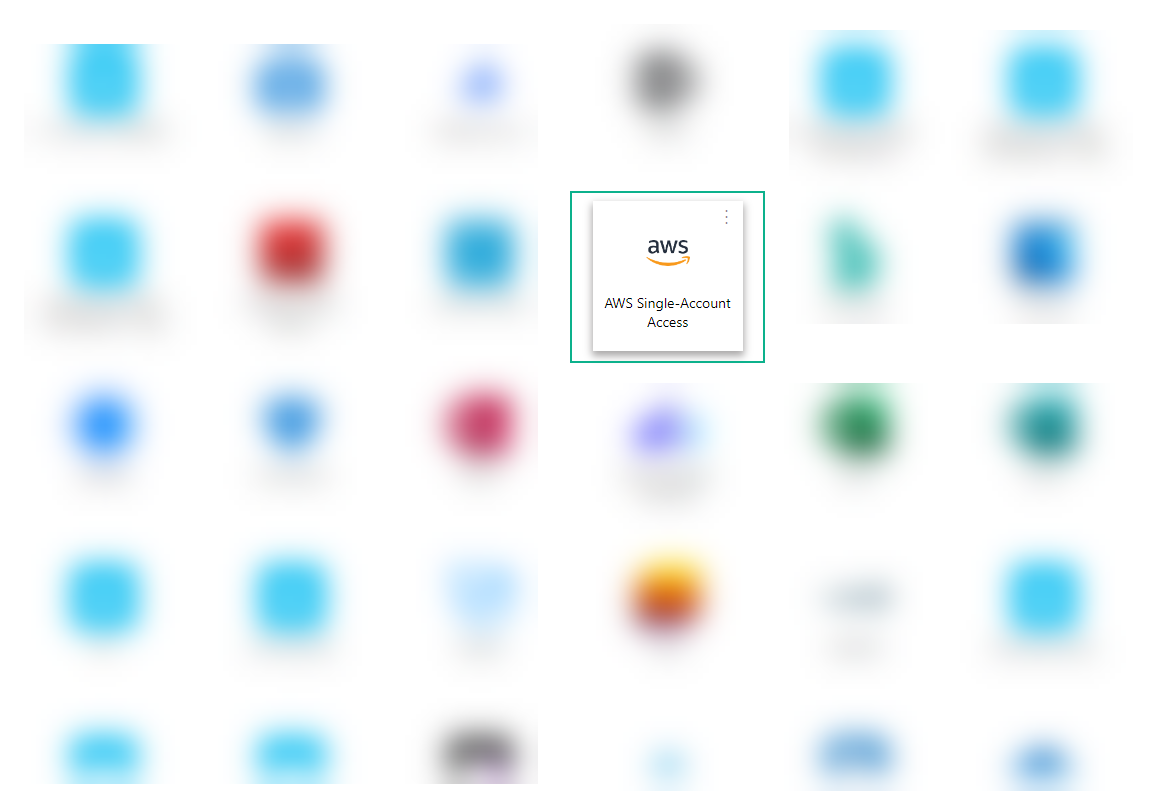
- To test, access the: https://myapplications.microsoft.com/ end click on AWS icon